You will also need:
Animation Shop. This is from CNET, so it's a safe download. However, it costs. That changed pretty recently. I don't know why!!
,
Alternatively, a LOVELY person named solshne (and another named Chris) wrote to let me know that one might find Animation Shop for free at this location. This is an FTP link and I have no idea if it's safe or not. So keep your antivirus handy to scan it after download!
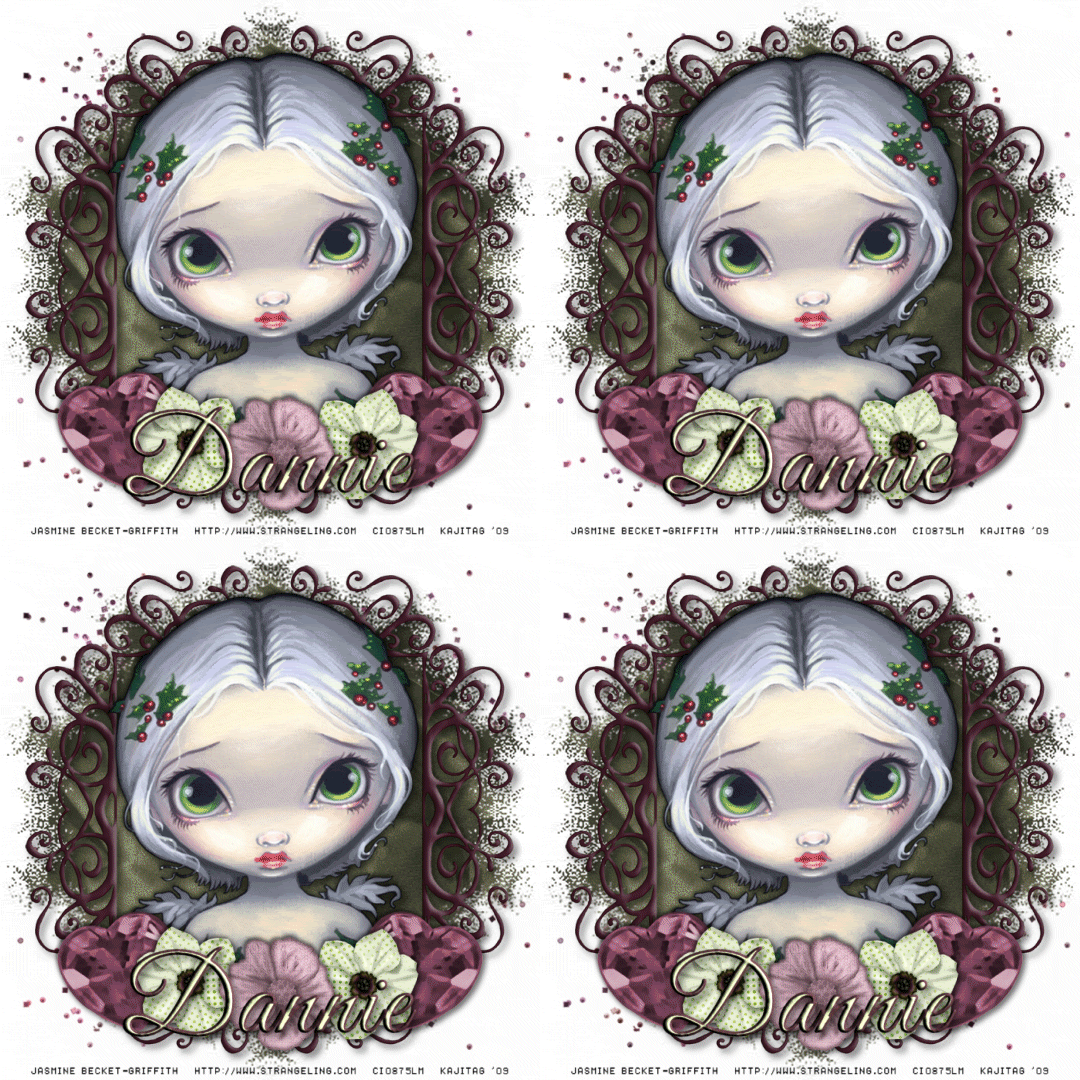
A tube of your choice. I'm using the amazing artwork of Jasmine Becket-Griffith. You must have a license to use her artwork. You can get that license and art at C.I.L.M.
The scrap kit is a collaboration by Heza, of HezaScraps & Tags and Dannie, of One Stop Digi Shop. This is a PTU kit, available at Treasured Scraps and is called Winter Coziness. You may also pick this up at One Stop Digi Stop.
Filters: Eye Candy 4000 > HSB Noise
Font: I used GoodVibrationsROB.
Supplies: Just the mask, about which I know nothing. If this is yours, or your know who made it, please let me know so that I might give proper credit!!
Also, please... if you have problems with any download link for supplies, drop me a line via e-mail. Leaving a comment without a way for me to contact you back doesn't help. If you e-mail me, I'll do my best to send you the supplies.
Okay, so let's begin! I've been playing hooky for over a week, so I have to get my mojo working again!! This one's pretty easy....
Open your mask in PSP and minimize. Alternatively, you can file it away to your mask files for future use!
Open a new canvas, 700 x 700, white.
Open Frame2. Resize 85%. Copy and paste as a new layer.
Add your tube. Resize, position, and drop shadow to your taste.
Highlight your frame layer. Grab your magic wand and click inside the frame.
Selections > Modify > Expand by 1. Selections > Invert.
Highlight your tube layer. Get your eraser brush and erase whatever part of your tube you don't want showing on the bottom or sides of your frame.
Selections > Select None.
Highlight your white background layer.
Open Paper13. Copy and paste as a new layer.
Apply your mask. Delete the mask layer, answer "yes" to the pop-up question, and merge group.
Open Heart Gem 2. Resize 50%. Copy and paste as a new layer. Place on the right bottom corner of the frame. Duplicate this layer and Image > Mirror. Merge these two layers down and drop shadow.
Open Flower3. Resize 40%. Copy and paste as a new layer. Position to the left of the heart gem on the right. Duplicate this layer and Image > Mirror. Merge these two layers down and drop shadow.
Open "Elements 007". Resize 50%. Copy and paste as a new layer. Position at the bottom center of the frame. See my example for placement reference. Drop shadow.
Open Glitter Spill 2. Resize 85%. Copy and paste as a new layer. Move to the bottom of your canvas. Duplicate this layer and Image > Flip. Merge these two layers down.
In your layer palette, drag this layer down below your mask layer.
Go back to the top layer and add your name. I used color #e9f2d5 for the fill, and #563440 for the stroke, stroke set at 3.
I added a slight inner bevel to the name, again using #e9f2d5 as the color.
Drop shadow your name.
Resize your canvas to a size with which you are comfortable.
Add your copyright, license information if applicable, and taggers'/watermark.
If you choose not to animate, you're now done, and you can merge your layers and save!
A N I M A T I O N
Highlight your Glitter Spill 2 layer. Duplicate three times, for a total of four Glitter Spill 2 layers.
Highlight your bottom Glitter Spill 2 layer.
Effects > Eye Candy 4000 > HSB Noise with just the default settings.
Hit okay.
Highlight the next Glitter Spill 2 layer up.
Add HSB Noise again, this time hitting "Random Seed."
Hit okay.
Now, highlight the third Glitter Spill 2 layer. Again, add HSB Noise, again hitting "Random Seed."
Hit okay.
And finally, the top Glitter Spill 2 layer. Add HSB Noise, again hitting "Random Seed."
Hit okay.
Close out the top three Glitter Spill 2 layers, leaving the bottom Glitter Spill 2 layer open.
Edit > Copy Merged.
Open Animation Shop. Right-click on the desktop area and paste as a new animation.
Return to PSP. Close out the bottom Glitter Spill 2 layer and open the next Glitter Spill 2 layer.
Edit > Copy merged.
Back to Animation Shop. Edit > Paste > After Current Frame.
Return again to PSP. Close out the open Glitter Spill 2 layer and open the next Glitter Spill 2 layer up.
Edit > Copy merged.
Again, back to Animation Shop. Edit > Paste > After Current Frame.
One last time, back to PSP. Close out the open Glitter Spill 2 layer, opening the top Glitter Spill 2 layer.
Edit > Copy Merged.
Back to Animation Shop. Edit > Paste > After Current Frame.
View > Animation.
We've finished! Thanks for being here! I'm happy that you chose my tut!!
.


No comments:
Post a Comment