This tutorial was written on February 25, 2010 using Paint Shop Pro, version X.03. It should be okay to do with other versions as well. I just find X.03 more comfortable for me. You may download a free trial of Paint Shop Pro, version X2, from Corel.
You will also need:
Animation Shop. This is now a pay-for product, through Corel. That changed a while ago. I don't know why!!
A tube of choice. I'm using the artwork of Angie Monasterio. You must have a license to use her artwork. You may get that license and art at C.I.L.M.
The scrap kit is by Heike, of Fantasy Dreams Designz. This is a FTU kit, called "Natural." Leave some love for Heike for her lovely freebies!!
Filters: dsb Flux > Bright Noise
Font: I'm using GoodVibrationsROB Script.
Supplies: The mask, which you can find here. This mask was shared with me by Nik, in a Yahoo group that was hers, about five years ago. There is a similar-looking group that you could find here. I've just joined, and she's given permission! She also asked for me to mention her site, Nik's Nik Naks.
But let's get this puppy done!
Open a new canvas, 700 x 700, white.
Begin with your tube. Copy and add as a new layer.
Creating this frame took me quite some fiddling, so I do hope I've captured every step! Let's try....
Open Element64. Resize 85%. Copy and paste as a new layer. Kind-of put it in the bottom left corner of your canvas. Duplicate this layer. Image > Mirror. Merge these two layers down. Duplicate this layer. Image > Flip. Merge these two layers down.
Now, resize the whole thing by 85% again. I *think* that's how I got to how it looks now. If I missed a step along the way, I have faith that y'all will fiddle with it 'til it looks right. I'm sorry if I'm letting you down on this one. It's just that I had to keep making it and then deleting, then making and deleting, to find the right look. By the time I had it, I couldn't recall how, exactly, I'd gotten it.
In your layer palette, drag this layer below your tube layer. Resize, position, and drop shadow your tube layer to your taste.
Remain on your tube layer.
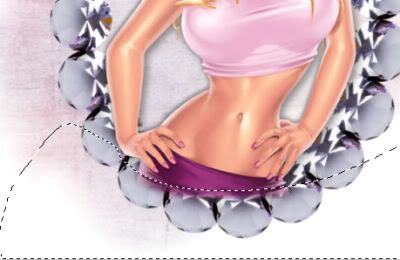
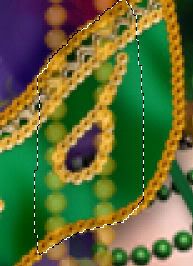
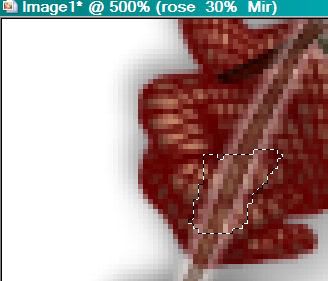
Since the frame we just created is soft and complex.... the normal rules don't apply. So I took my lasso tool, set on freehand, feather at 10, and drew a smile-type selection at the bottom of my tube.

Hit delete. Selections > Select None.
Open Element59. Resize 85%. Copy and paste as a new layer. Duplicate this layer. Image > Flip. Merge these two layers down. Drop shadow. In your layer palette, this should be just above your frame.
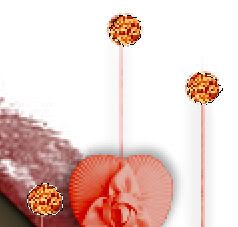
Open Elements5 & 6. Resize 40%. Copy Element6 and paste as a new layer. Position at the bottom left corner of the tag. Drop shadow.
Copy Element 5 and paste as a new layer. Rotate 90° left. Position next to the first flower. See my example for placement reference, if you like. Drop shadow.
Copy both flower layers and Image > Mirror, Image > Flip on them both. Rotate these flowers 45° right. Arrange on the top right corner of the frame.
You can now merge down the flower layers if you like. It's not necessary. I don't know if you like a clean palette or not!
Open Element7. Resize 30%. Copy and paste as a new layer. Position at the bottom left, above the two flowers already there. Drop shadow.
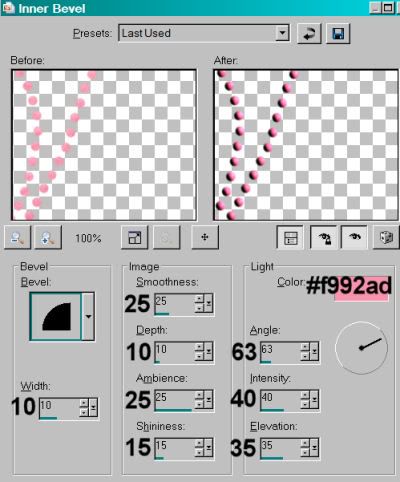
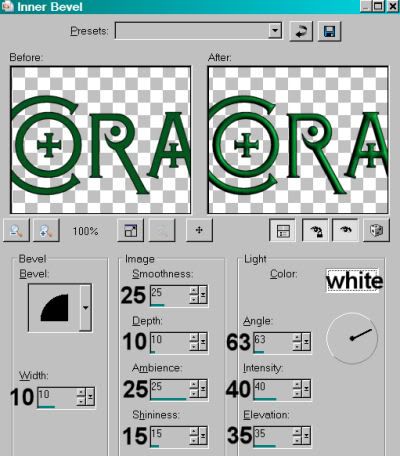
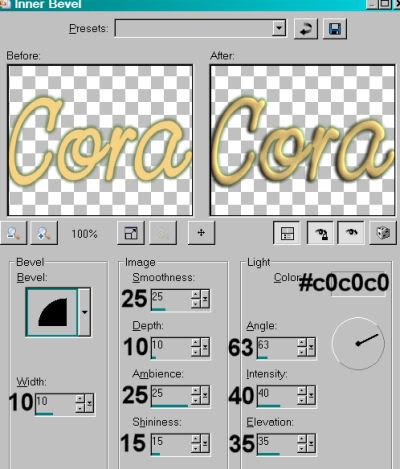
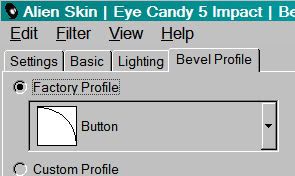
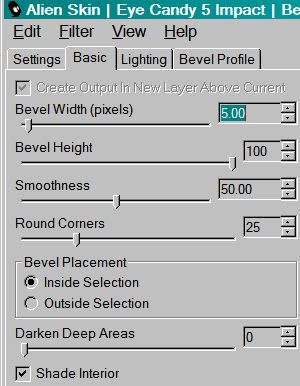
Open Element51. Resize 50%. Copy and paste as a new layer. I added the following bevel:
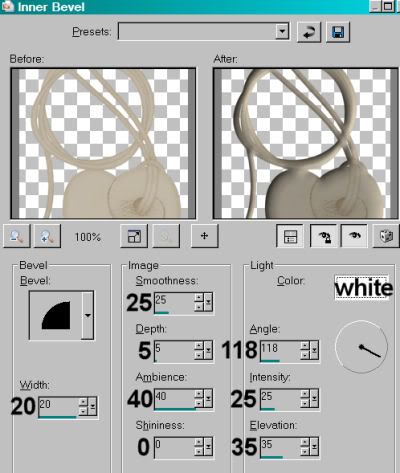
Hit okay.
Arrange this so that it looks as though it's falling from behind the top set of flowers. Drop shadow.
Highlight your white background layer.
Open Paper23. Copy and paste as a new layer.
Apply your mask. Delete mask layer, answer "yes" to the pop-up question, and merge group.
Resize your mask layer by 95%.
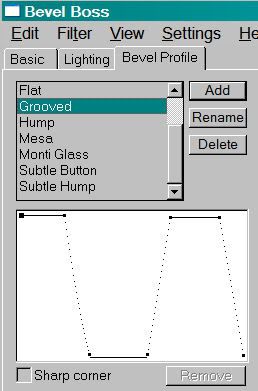
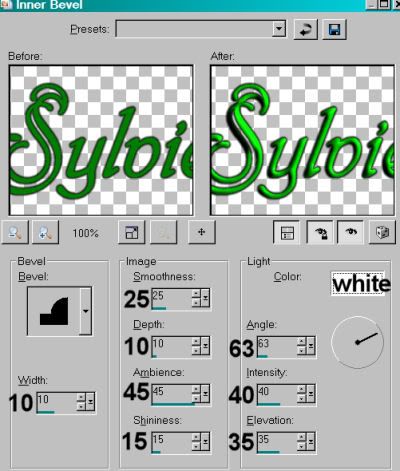
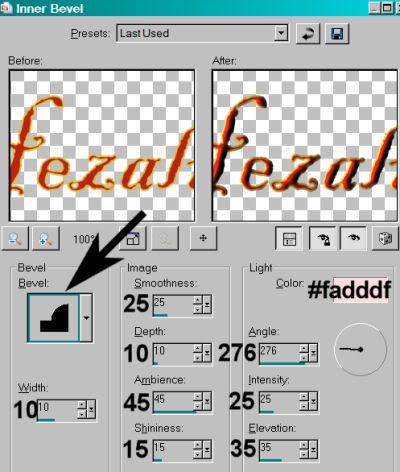
Go back to the top and add your name. I used color #eee4da as the fill, #6c6246 as the stroke, stroke set at 1.5.
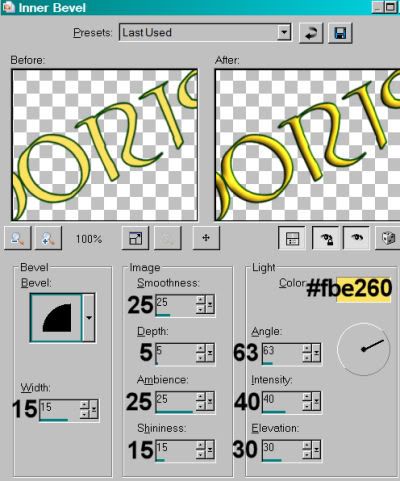
I added the following bevel (not the same as above, but almost):
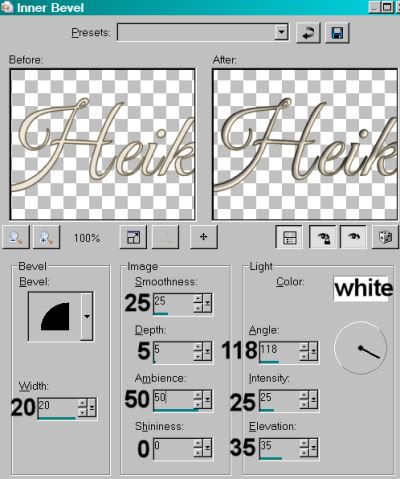
Hit okay.
Drop shadow your name. Arrange your name as you'd like it.
Resize your canvas to a size with which you are comfortable.
Add your copyright, license information if applicable, and taggers'/watermark.
If you choose not to animate, you're now done, and you can merge your layers and save!
A N I M A T I O N
At this point, you *could* merge down your Element59 and your mask layer if you like. I didn't do that, only because I didn't know beforehand that I was going to apply the filter to both layers until I'd already just done one of them. So I don't know if it's going to change the look of the tag or not. I'm writing this as I *did* it, not necessarily the easiest way. LOL! Just a warning.
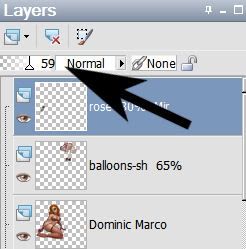
Highlight your Element59 layer. Duplicate this layer twice, for a total of three Element59 layers.
Now highlight your bottom Element59 layer.
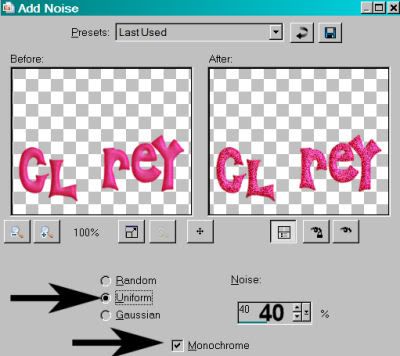
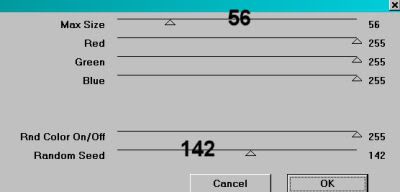
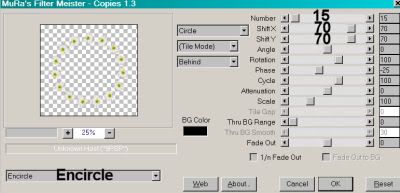
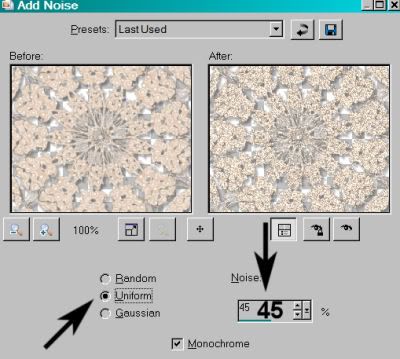
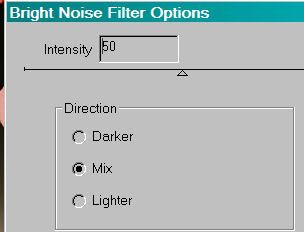
Effects > Plug-ins > dsb Flux > Bright Noise with the following settings:
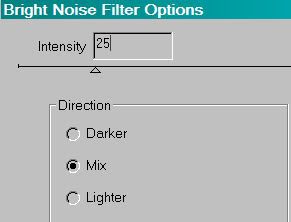
Hit okay.
Highlight the middle Element59 layer.
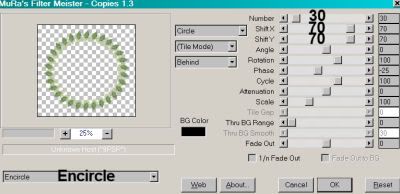
Add Bright Noise again, and click on the "mix" tab a couple times.
Hit okay.
Highlight the top Element59 layer.
Add Bright Noise once more, again clicking "mix" a couple times.
Hit okay.
Close out your top two Element59 layers, leaving the bottom layer open.
Now!!
Highlight your mask layer. Duplicate this layer twice, for a total of three mask layers.
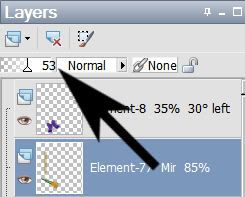
Now highlight your bottom mask layer.
Effects > Plug-ins > dsb Flux > Bright Noise with the same settings as before.
Hit okay.
Highlight the middle mask layer.
Add Bright Noise again, and click on the "mix" tab a couple times.
Hit okay.
Highlight the top mask layer.
Add Bright Noise once more, again clicking "mix" a couple times.
Hit okay.
Close out your top two mask layers, leaving the bottom layer open.
Edit > Copy Merged.
Open Animation Shop. Right-click on the desktop area and paste as a new animation.
Return to PSP. Close out your bottom Element59 AND mask layers, and open the middle layers on both.
Edit > Copy merged.
Back to Animation Shop. Edit > Paste > After Current Frame.
Return again to PSP. Close out the middle layers of both the Element59 and the mask, and open the top layers.
Edit > Copy merged.
Again, back to Animation Shop. Edit > Paste > After Current Frame.
View > Animation.
There you go! Another completed tag! I'm sorry for the hassle in the animation. If you did it the easier way, could you tell me if it looks any different at all? I bet it doesn't!! I hope you enjoyed it.
.