
This is just a guideline, and I know not everyone is going to be using the same tube... so use your imagination as you go! Any similarities between this tut and any others you may see are purely coincidental.
You will also need:
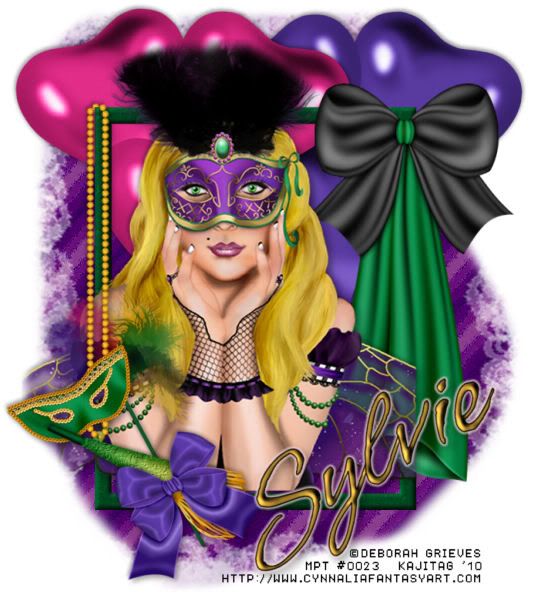
A tube of your choice. I'm using the fresh, new artwork of Deborah Greives. You must have a license to use her art. You may obtain that license and her art from My PSP Tubes.
The scrap kit is by Sylvie, of Fantasy Moments. This is a FTU kit, which is called "Mardi Gras." Keep on leaving lots of love for the freebies!!
Supplies: The mask, which you may find here. This is another beautiful mask by Essex Girl!! Thanks so much for your great masks, Essex Girl!
Filters: Eye Candy 4000 > Gradient Glow
Font: I used Vujaday Flourish.
Now, let's begin, shall we??!
Open a new canvas, 700 x 775, white.
Open Element-24 (frame). Resize 85%. Copy and paste as a new layer.
Add your tube. Resize, position and drop shadow to your taste.
Highlight your frame layer. Grab your magic wand and click inside the frame. Selections > Modify > Expand by 1. Selections > Invert.
Highlight your tube layer. Grab your eraser brush and erase any of your tube that you don't want showing along the sides and/or bottom of your frame.
Selections > Select none.
Highlight your white background layer.
Open Paper-3. Resize to 700x775 pixels. Copy and paste as a new layer.
Apply your mask. Delete the mask layer, answer "yes" to the pop-up question, and merge group.
In order to make the edges more uneven, I took my lasso tool, set on freehand, feather set to 17, and drew curvy selections around the outside edges of the mask layer. Selections > Invert. Hit delete. Selections > Select none.
Open Elements-37 and -38. Copy and paste as new layers. Mirror one of them. Position as you like them. I dropped this layer below the frame and tube layers, but above the mask layer. Drop shadow your balloons.
Open Element-45. Resize 50%. Image > Mirror. Copy and paste as a new layer. Position it towards the bottom left of your frame. See my example for placement reference. Drop shadow this layer.
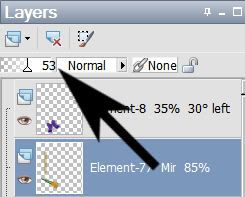
Open Element-8. Resize 35%. Copy and paste as a new layer. Rotate 30°left. Position this on the "stick" portion of the mask layer you just put into place, looking somewhat as though it came that way, with a bow on it. Drop shadow your bow.
Open Element-77. Resize 85% Copy and paste as a new layer. Position as though the beads are hanging on the upper left corner of your frame. See my example for placement reference. I chose to drag this layer below the bow layer, but above the mask element layer. It's your choice here. I had to drag it up and down a few times to figure out how I ultimately wanted it to look. Drop shadow this layer.
Change the opacity of your beads layer to somewhere around 50-60.
This way, you can see through the beads to the rest of the elements, to make the following steps easier.
Grab your lasso tool, set on point-to-point, changing feather back to 0. Draw a selection around the mask where the beads are layered over them
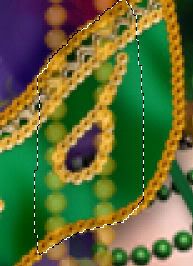
Hit delete.
Now draw a selection around the bead that overlaps the frame at the top, to make it look as though these beads are actually hanging from the corner
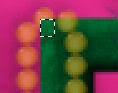
Hit delete. Selections > Select None.
Bring the opacity for this layer back up to 100.
Go to the top layer and add your name. I used color #dfc146 as the fill and black as the stroke. Stroke set at 1.5.
I added the following bevel:

Hit okay.
Effects > Plug-ins > Eye Candy 4000 > Gradient Glow set at 4-25-100, color #f9dddf.
Drop shadow your name.
Resize your canvas to a size with which you're comfortable.
Add your copyright, license information if applicable, and taggers'/watermark.
Layers > Merge > and save! We are done!
And there you go! Another finished tag! I hope you liked this tutorial, and I thank you SO much for choosing to work with it!!
.


No comments:
Post a Comment