You will also need:
Animation Shop - I've found it here! This is from CNET, so it's a safe download, too!
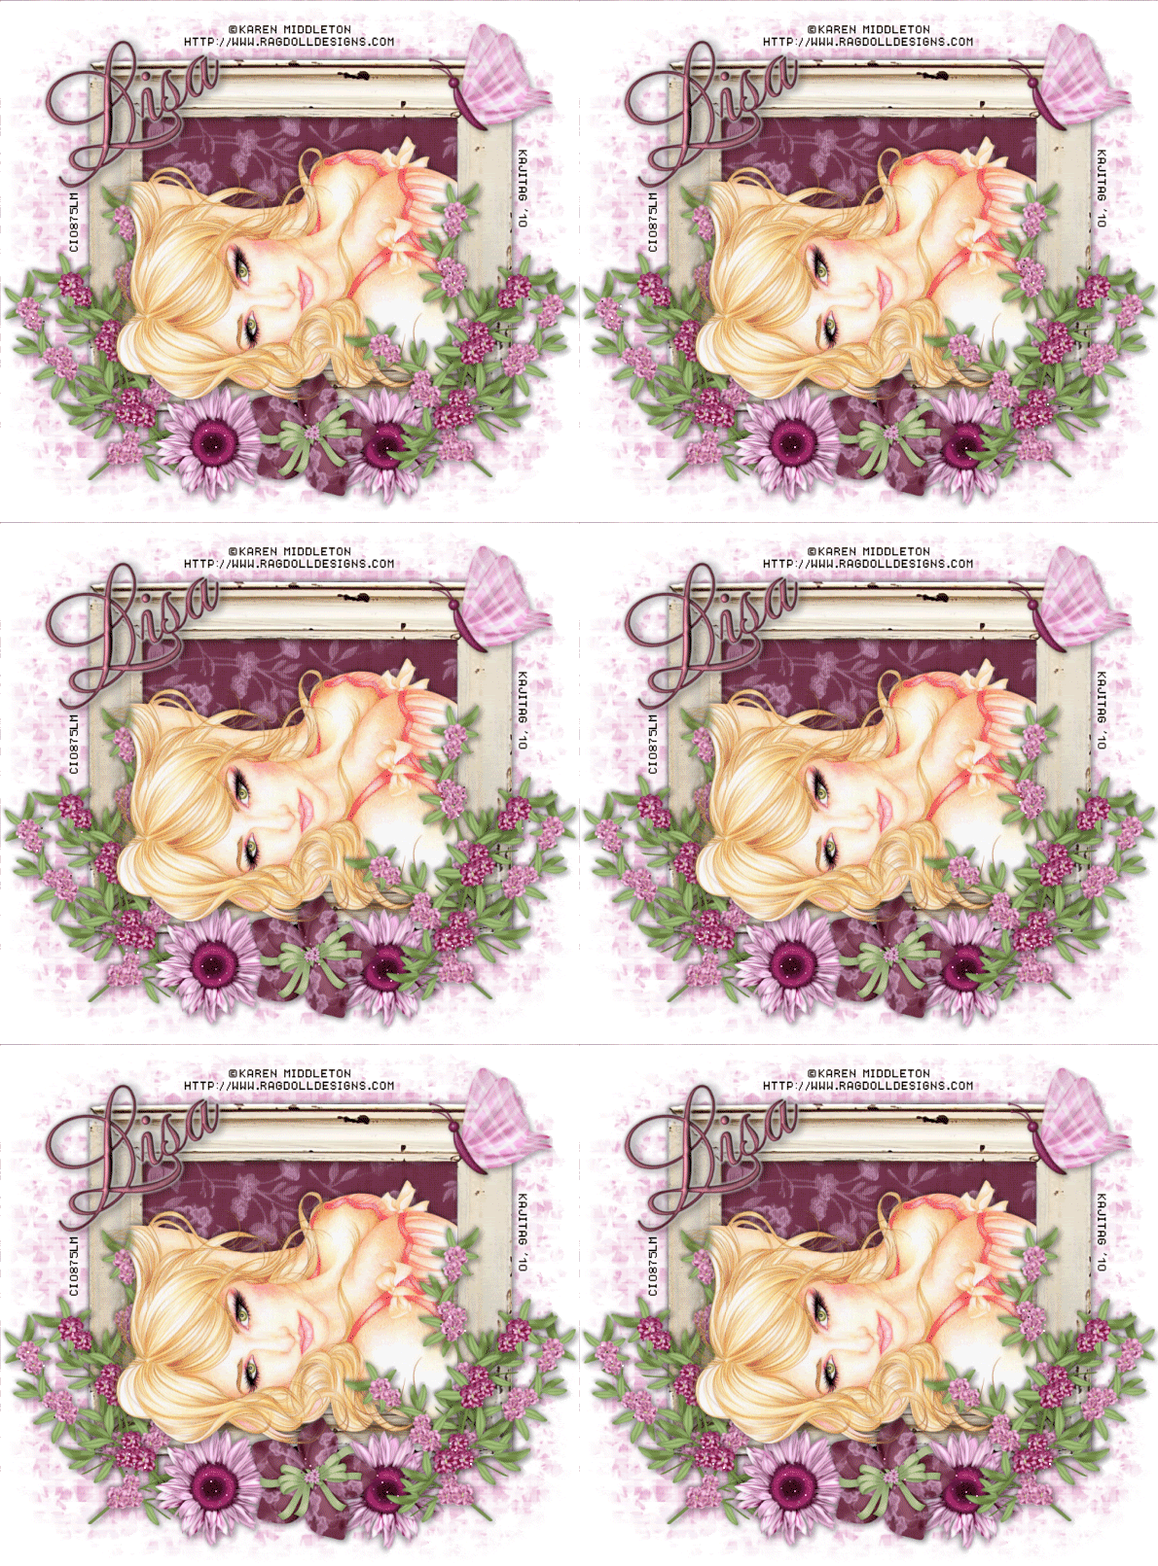
A tube of your choice. In this case, a laying down posture would work best. Or, you could rotate the frame 90° either way and use an upright tube! I'm using the gorgeously feminine artwork of Karen Middleton. You must have a license to use her work. You may purchase that license at C.I.L.M.
Scrap kit is by Lisa, of Frosted Illusions. It's a FTU kit, and is is called Dusky Days. Be sure to leave some love if you download this great kit!
Filters: Eye Candy 4000 > Gradient Glow
Font: I used Mea Culpa.
Supplies: I've supplied the two colored twinks, the frame and the mask. You may find them here. I don't know the origin of either of the twinks, but the mask is by Essex Girl! The frame is by Donna Rafferty. I couldn't find any frames in ANY of her blogs, nor her store. I did write her an e-mail for permission. As of yet, I've not heard back from her. So I'm using it, hoping she'll say it's okay. Hoping, too, that I used the right e-mail! It wasn't returned, so .... Thanks to all of those who give their art freely to the PSP community!!
Okay now, let's go for it!!
Open your mask and frame in PSP and minimize. Alternatively, you can load them into the PSP files where you keep such things for use at a later date. :) Put your sparkly files wherever they will be handily available when you're in Animation Shop.
Open a new image, 775 x 700, white.
Open the frame included with the supplies. Resize 25%. Copy and paste as a new layer.
Add your tube. Resize, position and drop shadow to your liking.
There's some repetition coming up, but it's painless. Just warning ya'!!
Highlight your frame layer. Grab your magic wand and click inside the frame. Selections > Modify > Expand by 1. Selections > Invert.
Highlight your tube layer. Grab your eraser brush and erase any of your tube that you don't want showing on the bottom or sides of your frame. In my case, I was only worried about the far right side. I wanted her hair, etc., to stay put for some depth.
Selections > Select None.
Highlight your white background layer and open Paper 5. Copy and paste as a new layer.
Highlight your frame layer. Grab your magic wand and click in the middle of the frame.
Selections > Modify > Expand by 10. Selections > Invert.
Highlight the Paper 5 layer. Hit delete. Selections > Select none.
Highlight the white background layer one last time!
Open Paper 4. Copy and paste as a new layer.
Apply your mask. Delete mask layer, answer "yes" to the pop-up question, and merge group.
Okay, now! Back to the top layer!!
Open Blossom 4. Resize 65%. Copy and paste as a new layer. Position on the bottom left corner of the frame. I chose mine to be below the tube layer. See my example for placement reference.
Duplicate this layer. Image > Mirror. Position as you like it on the other side of the frame. Merge these two layers down and drop shadow.
Open Blossom 2. Resize 65%. Position above the previous blossom layer on the left lower corner of the frame. Duplicate this layer. Image > Mirror. Arrange these two Blossom layers until they are in a position that satisfies you. Merge them down and drop shadow.
Open Flower 3. Resize 55%. Copy and paste as a new layer. Position in the center of the bottom of the frame. See my example for placement reference. Drop shadow.
Open Flower 6. Resize 45%. Copy and paste as a new layer. Position to the left side of the first, center flower. I chose to drag this layer below the first flower layer. It's up to you. When you've got it as you like it, duplicate this layer, and Image > Mirror. Merge these two layers down and drop shadow.
Open Butterfly 3. Resize 65%. Copy and paste as a new layer. Rotate 30° left. Position toward the top right of the frame. See my example for placement reference, if you like. Drop shadow.
Go back to the top and add your name. I used color#6b2c40 as the fill, and #db9eb2 as the stroke, stroke set at 1.5.
Effects > Plugins > Eye Candy 4000 > Gradient Glow set at 4 - 25 - 100, color #c0c0c0.
Drop shadow your name. Position as desired.
Resize your tag to a size with which you're most comfortable.
Add your copyright, license information if applicable and taggers'/watermark.
If you choose not to animate, at this point you could stop!!! Just merge your layers and save!
A N I M A T I O N
Edit > Copy merged
Open Animation Shop, right-click on the desktop area, and paste as a new animation.
Duplicate this frame until you have 8 frames. Move the slider at the bottom of your animation to the first frame.
Open the pink twinks file. Edit > Select All. Edit > Copy.
Go back to the animation you are building and Edit > Paste > Into Selected Frame.
Continue doing this until you have the twinkle effect you want. Alternate between the pink and the silver twinks. It doesn't make MUCH of a difference, but there is a subtle difference.
View > Animation. And you're done! I hope you've enjoyed this tutorial! Thanks for stopping by!
.


No comments:
Post a Comment