
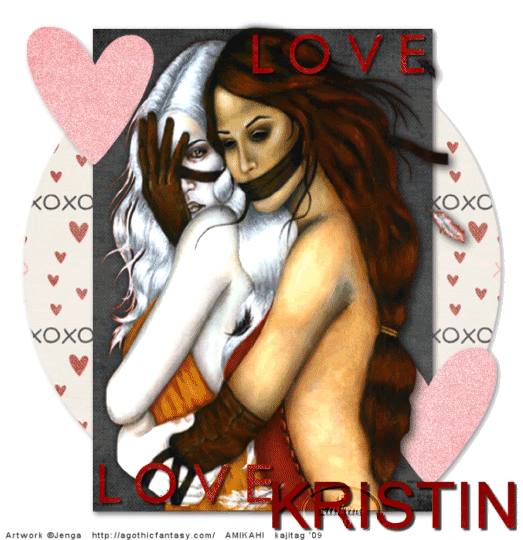
[NOTE: Click on image above to see full-sized tag.]
Loving Valentine
A tutorial by kajira. Written on January 9, 2009.
What's Needed:
Tube of choice. I am using a tube by Jenga. You can find Jenga's great tubes at Artistic Minds, Inc.
Scrap Kit: Valentine by Kristin of Kristins' Wicked Scrapz.
Template, also by Kristin. It's template Kristin-KWS-Template15.png, included with two other Valentine templates, here.
Leave Kristin lots of love while you're there! Only takes a minute and it does wonders for a person's spirit!
Filter: DSB Flux, Bright Noise
Font: Arial
Let's get started!
Duplicate your template, close out the original.
My preference at this point was to resize the template with the height being 700, aspect ratio locked. Again, I just like working on a bigger space. This is entirely up to you.
Click on Circle layer.
Selections > Select All > Float > Defloat > Modify > Expand by 1
Paper 10. Copy, then paste on your canvas. Resize by 115%.
Selections > Invert > Delete > Select None.
Click on rectangle layer.
Selections > Select All > Float > Defloat > Modify > Expand by 1
Paper 4
Adjust > Brightness and Contrast > Brightness/Contrast > With the following settings:
-50 30
Copy, then paste on your canvas. Resize by 115%.
Selections > Invert > Delete > Select None.
Click on "Love" layer.
Selections > Select All > Float > Defloat > Modify > Smooth, both settings on 10.
Paper 1
Adjust > Brightness and Contrast > Brightness/Contrast > Same settings as before.
Copy, then paste on your canvas. Resize by 115%.
Selections > Invert > Delete > Select None.
Drop shadow: 3, 3, 55, 3 Black
Click on hearts layer.
Paper 2. Copy, then paste on your canvas. Resize by 115%.
Selections > Invert > Delete > Select None.
Add your tube of choice. Drop shadow.
If you have excess drop shadow under the rectangle area, you may remove it in this way. If you don't, skip down!!
Click rectangle layer.
Selections > Select All > Float > Defloat > Modify > Contract by 2
Selections > Invert
Grab your Eraser Brush, with the following settings:
Shape - Square Size: 100-150 Hardness - 100 Step - 10
Density - 100 Thickness - 100 Rotation - 0 Opacity - 100
Highlight your tube layer, and erase ONLY THE BOTTOM where the dropshadow hangs over. Again, this may not apply to you, it depends upon the tube.
Add your name. I used Arial. Drop shadow 3, 3, 55, 3 Black
Add your ©, license, WM if applicable.
Now, you can just save this as a static tag, or you may move on to animation.
Animation
Highlight the Hearts layer.
Selections > Select All > Float > Defloat >
Duplicate your hearts layer now, twice, making a total of three.
Highlight your bottom hearts layer.
Effects: DSB Flux, Bright Noise. Intensity, 25. Mix. OK.
Highlight your middle hearts layer.
Effects: DSB Flux, Bright Noise. Intensity, 25. Click Mix again, once or twice. OK.
Highlight your top hearts layer.
Effects: DSB Flux, Bright Noise. Intensity, 25. Click Mix again, once or twice. OK.
Select None.
Close out the top two heart layers, and Edit > Copy Merged
Right click on blank canvas in Animation Shop, Paste as new animation.
Back to PSP. Close bottom layer and open up the middle layer.
In Animation Shop, Click Edit > Paste > Paste after current frame.
Back to PSP. Close middle layer and open the top layer of hearts.
In Animation Shop, Click Edit > Paste > Paste after current frame.
If you wish to view your animation, Click View > Animation.
You're done! Save it and pat yourself on the back!
Thank you for trying my tutorial. It really means a lot to me. I hope it wasn't too hard to follow. If you have any questions, please don't hesitate to notify me, and I'll do the best I can to re-write the confusing parts!!
.


No comments:
Post a Comment