
You will also need:
A tube of your choice. I'm using the great artwork of Ismael Rac. You must have a license to use his artwork. You can get that license and art at Artistic Minds, Inc.
Scrap kit is by Krista, of Rainy Day Scraps. This is a FTU mini kit, called Bad Things. Be sure to leave your thanks to Krista for the freebie sharing!!
Filters: Eye Candy 4000 > Gradient Glow
Font: I used Black Jack.
Supplies: The mask. I know where I got this!! Go to Wynter's blog and you can find this one, plus some others!! Thank you, Wynter. Please come back!! :) (She's been inactive since last year....)
Okay! Let's get started! This is a relatively quick-n-easy tut!
Open a new image, 750 x 700, white.
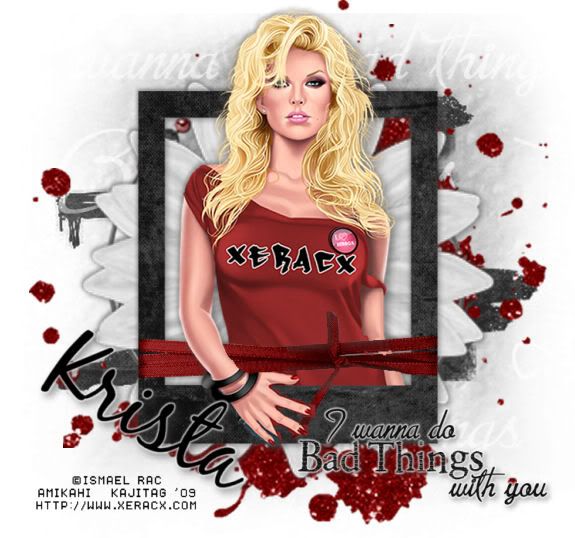
Open Frame2. Copy and paste as a new layer.
Add your tube. Resize, position and drop shadow to your liking. Close off this layer.
Highlight your frame layer. Grab your magic wand and click inside the frame. Be sure to click on all the white areas within the ribbons, etc.
Selections > Modify > Expand by 1. Selections > Invert.
Re-open and highlight your tube layer. Grab your eraser tool and erase the portion of your tube that you don't want showing at the bottom of the frame. Again, I chose to leave the hand of the tube. It's whatever you like.
Selections > Select none.
Highlight your white background layer.
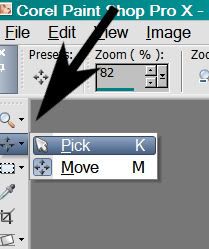
Open Paper8. Copy and paste as a new layer. Stretch with your pick tool to fill the background.
Apply your mask. Delete mask layer, answer "yes" to the pop-up question and merge group.
Open Blood Spatter 2. Resize 200%. Copy and paste as a new layer. Position as you like, above your mask layer.
Open Blood Spatter 4. Resize 200%. Copy and paste as a new layer. Position as you like, also above the mask layer.
Open Wire Beads. Resize 200%. Copy and paste as a new layer. This layer should be above your blood layers.
Open Flower3. Resiize 235%. Copy and paste as a new layer. This layer should be above your Wire Beads layer. Drop shadow your flower.
Drop shadow your frame.
Go to the top layer. Open the Word Art1. Resize 50%. Copy and paste as a new layer. Position where you like. I gave this a Gradient Glow, set at 3 - 0 - 100, color white. Drop shadow word art.
Add your name. I used black, with the same Gradient Glow as above. Drop shadow your name.
Add your copyright, license information if applicable, and taggers'/watermark.
Resize your tag to the size with which you're most comfortable.
If you like what you see, save and, we're done! I hope you've enjoyed this tutorial! I told you it was quick-n-easy!!
.


No comments:
Post a Comment