
You will also need:
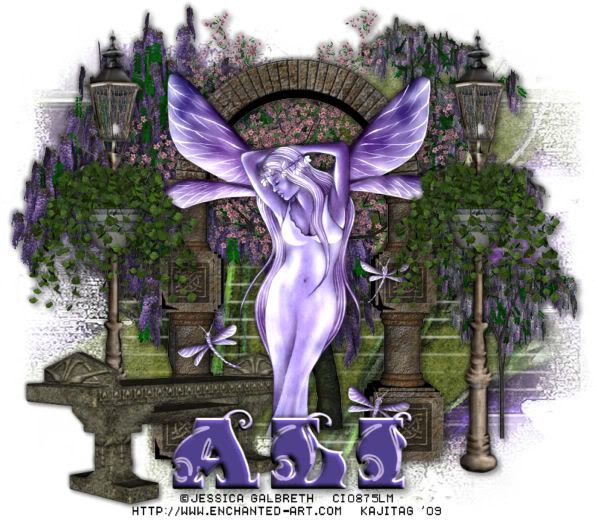
A tube of your choice. I'm using the artwork of Jessica Galbreth. You must have a license to use her art. You may obtain that license and her art from C.I.L.M.
The scrap kit is by Ali, of Designs by Ali. This is a FTU kit titled "Green Green Garden." Be sure to leave Ali some love for posting freebies for us!!
Supplies: The mask. Don't know where I got it, and as usual, let me know if it's yours, or you know whose it is, so that I may give credit for the free mask!
Filters: No outside filters used in this tutorial!
Font: I used Fantastic MF Initials.
Let's get to it! This is a VERRRRRY easy tut. Cut-n-Paste all the way.
Open your mask in PSP and minimize. Alternatively, you could file it in with the rest of your PSP masks for use at a later date. Totally up to you!
Open a new canvas, 800 x 700, white.
Open Tree2. Copy and paste as a new layer. Position as you like. I mirrored mine and placed it to the left. Drop shadow.
Open Tree3. Copy and paste as a new layer. Position as you like. Mine is to the right. Drop shadow.
All this positioning of your trees will be changing once you get all the stuff in there, so .... just sayin'...
Open Tree1. Copy and paste as a new layer. Position this as you like. Mine is between and above the other two trees. Drop shadow.
Open Garden Arch. Copy and paste as a new layer. Drop shadow.
Open Seat1. Resize 75%. Copy and paste as a new layer. Position to the left. Drop shadow.
Add your tube. Resize, position and drop shadow to your liking.
Open Lamp Post 1. Resize 75%. Copy and paste as a new layer. Position this to the right of the arch. Duplicate this layer. Image > Mirror. Merge these two layers down. Drop shadow your lamp posts.
Open Hanging Basket1. Resize 50%. Copy and paste as a new layer. Position as if it's hanging off the hooks on one of the lamp posts. Duplicate this layer and Image > Mirror. Merge these two layers down and drop shadow.
Highlight your white background layer.
Open Paper4. Copy and paste as a new layer.
Apply your mask. Delete mask layer, answering "yes" to the pop-up question, and merge group.
Resize your mask layer 105%.
Go to the top layer and add your name. I used color #cdc1f9 as the fill, #554899 as the stroke. Stroke set at 3.
I added a bevel:
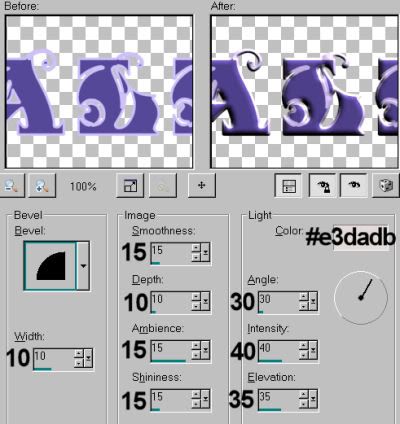
Hit okay.
Resize your canvas to a size with which you're comfortable.
Add your copyright, license information if applicable, and taggers'/watermark.
Layers > Merge > and save! We are done!
Et, voila, we are done with another! I hope you enjoyed this. I think it was super easy to do, don't you? Thanks for stopping by, and I hope your day is going swimmingly!! LOL!
.


No comments:
Post a Comment