
You will also need:
A tube of your choice. I'm using the amazing artwork of Olivia. You must have a license to use her art. You may obtain that license and her art from C.I.L.M.
The scrap kit is by Brandi, from Grunge and Glitter Scraps. This is a FTU kit titled "Berry Delight." For some reason, this artist, too, is giving away 7 of her formerly PTU kits. This is the first one listed. As always, leave love for the freebies!!
Supplies: You can find the mask here. This is by Teresa of Boundless Bliss. Thank you, Teresa!!
Filters: Eye Candy 4000 > Gradient Glow
Font: I used Qwigley.
Okay, let us begin!
Open your mask in PSP and minimize. Alternatively, you could file it in with the rest of your PSP masks for use at a later date. Totally up to you!
Open a new canvas, 700 x 700, white.
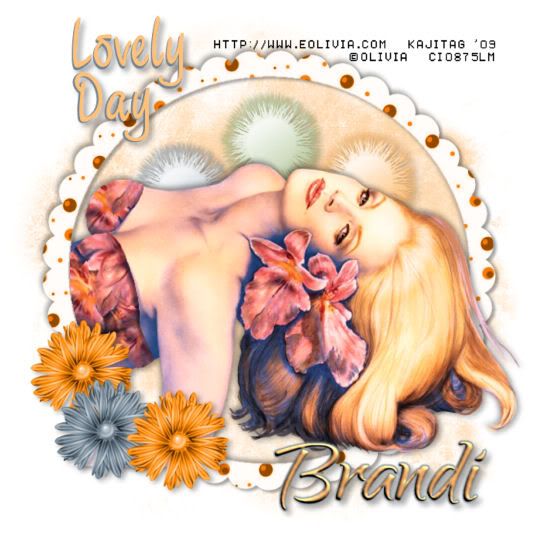
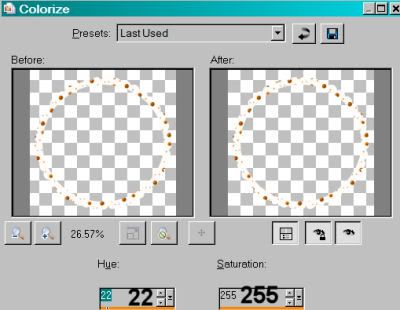
Open frame3. Resize 90%. Copy and paste as a new layer. I colorized it to go with my tube:
Add your tube. Resize, position and drop shadow to your liking.
Highlight your frame layer. Grab your magic wand, and click inside the frame. Selections > Modify > Expand by 1. Selections > Invert.
Highlight your tube layer. Grab your eraser brush and delete the portions of your tube that you do not want showing at the bottom (and/or sides) of the frame.
Selections > Select none.
Highlight your white background.
Open paper10. Copy and paste as a new layer.
Apply your mask. INVERT TRANSPARENCY!! Delete mask layer, answer "yes" to the pop-up question, and merge group.
Open your fuzzyflowers. Copy and paste as a new layer. This should be below your tube and above your mask layer. Position as you'd like it to show. In my case, I used my selection tool to crop out areas (of the bright green stems, etc.,) I didn't want showing. Drop shadow your fuzzyflowers.
Open flower2 and flower3. Resize both 25%. Copy and paste as a new layer, both. Duplicate one of them and play with them until you like what you see. Drop shadow each flower. Merge these three layers down.
Open wordart3. Copy and paste where you'd like it. I placed mine in the upper left corner of the canvas. Up to you! Do not drop shadow the word art.
But now would be a good time to drop shadow the frame!! lol.
Go to the top layer and add your name. I used color#ffc079 for the fill and the stroke, stroke set at 2.
Add a bevel as shown:
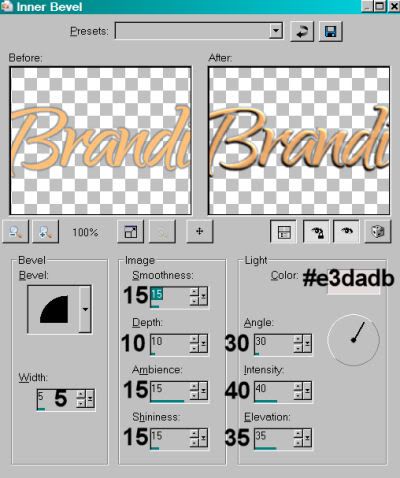
Hit okay.
Add a Gradient Glow of 3-0-100, color #718493.
Drop shadow your name.
Resize your canvas to a size with which you're comfortable.
Add your copyright, license information if applicable, and taggers'/watermark.
Layers > Merge > and save! We are done!
Thanks for trying my tut!! I hope it was easy to understand and follow! Have a grrrrrreat day!
.


No comments:
Post a Comment