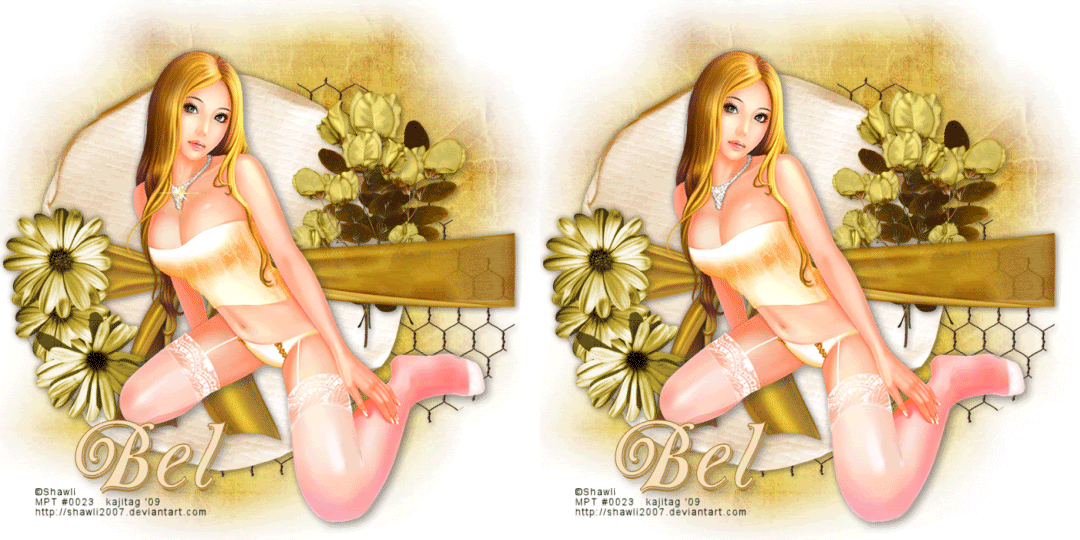
You will also need:
Animation Shop. This is from CNET, so it's a safe download.
A tube your choice. I'm using the great artwork of Shawli. You must have a license to use her work. You may purchase that license at My PSP Tubes.
Scrap kit is by Bel Vidotti. It's a FTU kit, and is called Tatiana. This is the beginning of a series of kits she will be doing, based upon friendship.
Filters: No outside filters used in this tut!
Font: I used Oberon LET
Supplies: The mask and the golden sparkle, which you can find here. Please, if you have problems with the download link for supplies, drop me a line via e-mail. Leaving a comment without a way for me to contact you back doesn't help. If you e-mail me, I'll send you the supplies.
[NOTE: This is a simple two-frame animation. I used the sparkle to accentuate the necklace on my tube. It may well be possible you won't need the sparkle or to animate. It all depends upon your tube choice.]
Onward!! Let's begin...
Open your supplies and minimize in PSP. Alternatively, you can load your mask into the PSP masks folder for use at a later date.
Open a new image, 700 x 700, white.
Open TornPaper. Copy and paste as a new layer. Rotate 25° left. Position to the left side of your canvas. Soft drop shadow.
Open Wire. Copy and paste as a new layer. Position to the right side of your canvas, and in the layer palette, below the torn paper. Soft drop shadow.
Add your tube. Resize, position, and drop shadow to your taste.
Open TiedRibbon01. Copy and paste as a new layer. Resize 95%. In the layer palette, drag this below your tube. I had to use the pick tool to drag it out a bit on the right side. I tried to make it seem as if it were wrapping around the torn paper and wire. The wire doesn't exactly come up far enough, but I think it looks okay???
Open Leaves04. Resize 65%. Copy and paste as a new layer. Move under your tied ribbon, and to the right. Duplicate this layer and Image > Mirror. Using your move tool, move it over to cluster with the other layer. Have the stem cross over just below the ribbon. Drop shadow these layers. Merge down.
Open Flower04. Resize 65%. Copy and paste as a new layer. Mirror. Move over your leaves layers. Drop shadow.
Again at Flower04 (the original, from the kit, at its original size). Resize 50%. Copy and paste as a new layer. Move this to cluster with the other flowers and leaves. Drop shadow.
Open Flower02. Resize 65%. Copy and paste as a new layer. Rotate 90° right. Position on the left side of the torn paper. See my tag for placement reference. I colorized the flowers to go better with the rest of the tag. Drop shadow these flowers.
Add your name. I used color #f7e1bd as the fill. Color #a36e19 for the stroke, stroke set at 1.
Drop shadow your name.
Add your copyright, license information if applicable, and taggers'/watermark.
Resize your tag to a size with which you're comfortable. At this point, you can just merge and save, if you choose not to animate!!
A N I M A T I O N
Open Afbeelding1. Copy and paste as a new layer. Position so it accentuates the jewelry on your tube.
Edit > Copy merged
Open Animation Shop, right-click on the desktop area, and paste as a new animation.
Return to PSP. Close out the Afbeelding1 layer.
Edit > Copy merged.
Return to Animation Shop and Edit > Paste > After Current Frame.
Highlight your first frame. Change frame properties to 125.
Highlight your second frame. Change the frame properties to 35.
View > Animation. And we're done! I hope you've enjoyed this tutorial! Thanks for stopping by!
.


No comments:
Post a Comment