You will also need:
Animation Shop. This is from CNET, so it's a safe download.
A tube your choice. A horizontally-oriented tube works best for this tutorial. I'm using the glamorous artwork of Jennifer Janesko. You must have a license to use her work. You may purchase that license at CILM.
Scrap kit is by Penni. It's a FTU kit, and is called Coffee & Cream. Be sure to leave Penni some love for offering this freebie!
Filters: Eye Candy 4000 > Gradient Glow
Font: I used University Script
Supplies: The mask and flower branch, here. I don't know from where I acquired these files. If you recognize them as yours, please let me know and I'll give you proper credit!
[NOTE: May 18, 2009 -- Someone JUST e-mailed me about the fact the wrong file was included in the .zip file referenced above. 35 people have downloaded that .zip file and no one told me until today! I've fixed the error, and changed the link, so it should work from now on. Thank you, kind person, for letting me know!!!]
Also, please, if you have problems with the download link for supplies, drop me a line via e-mail. Leaving a comment without a way for me to contact you back doesn't help. If you e-mail me, I'll send you the supplies.
Onward!! Let's begin...
Open your supplies and minimize in PSP. Alternatively, you can load your mask into the PSP masks folder for use at a later date.
Open a new image, 750 x 700, white.
Open scrollframe. Resize 20%. Copy and paste as a new layer. Rotate 90° either way.
Add your tube. Resize, position and drop shadow to your liking.
Highlight your frame layer. Grab your magic wand and click inside the frame. Selections > Modify > Expand by 15. Selections > Invert.
Open paper # p15. Copy and paste as a new layer. Hit delete. Selections > Select none. Drag this layer below your frame layer.
Still on your paper layer, apply your mask. Delete the mask layer, answer "yes" to the pop-up question and merge group. Resize your mask layer 90%.
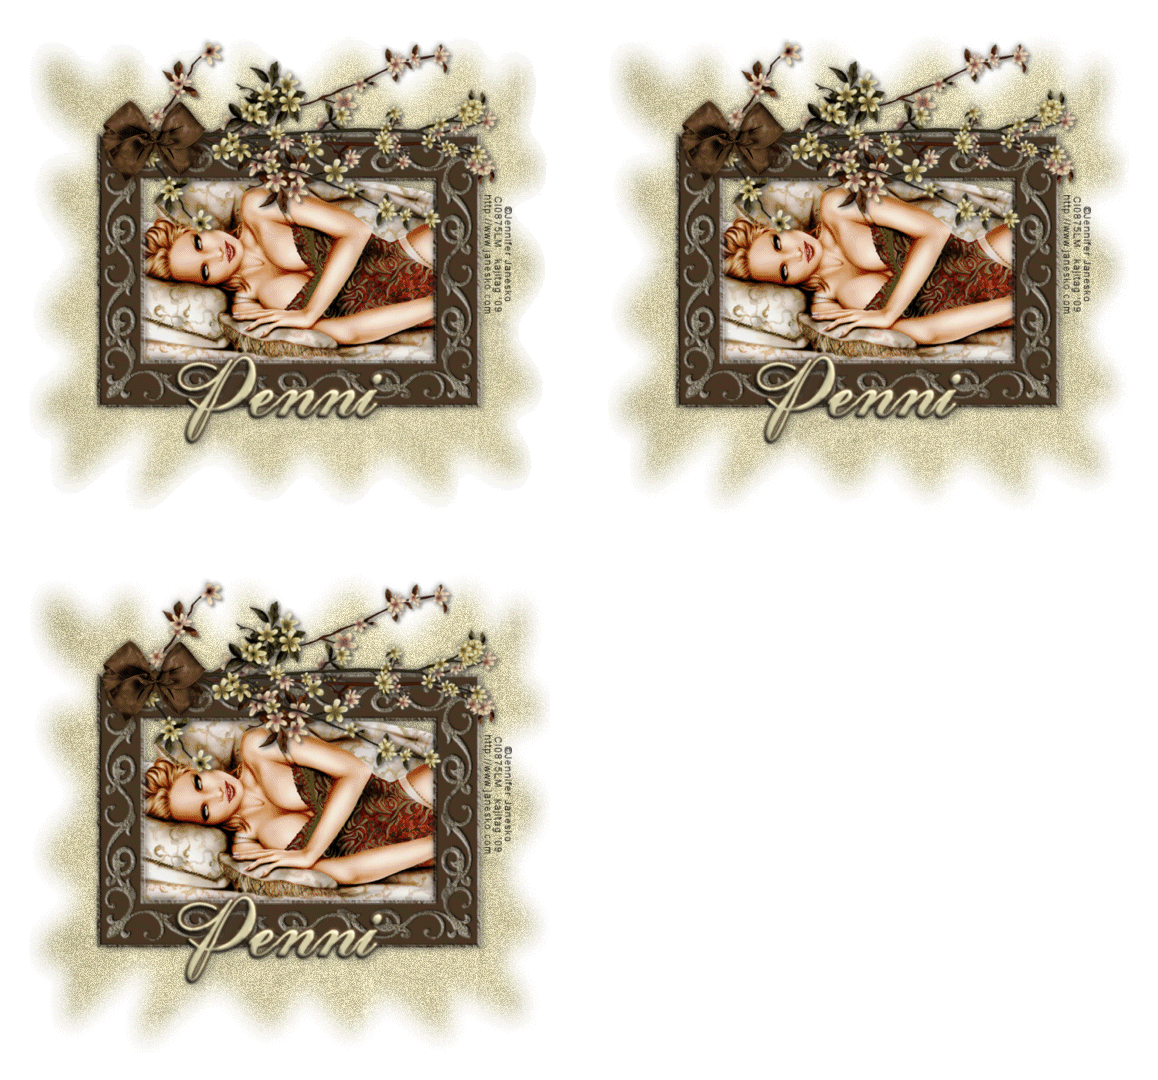
Open flowerblossoms1 from your supplies. Copy and paste as a new layer. Rotate right 100°. Position at the top of your frame. See my tag for placement reference. Drop shadow the branch. Now, duplicate. Resize 110%. Bring the duplicate below the other branch layer. I colorized one of the branches to go with the mask coloring. You may choose to do that, or not.
Open smallbow. Resize 10%. Copy and paste as a new layer. Position on the upper left corner of the frame, over the branches. Again, see my tag for placement reference. Drop shadow your bow.
Add your name. I used color #d7cfaa as the fill AND the stroke, stroke set at 2.
Effects > Plugins > Eye Candy 4000 > Gradient Glow set at 5 - 0 - 100, color #483623.
Drop shadow your name.
Add your copyright, license information if applicable, and taggers'/watermark.
Resize your tag to a size with which you're comfortable. At this point, you can just merge and save, if you choose not to animate!!
A N I M A T I O N
Highlight your mask layer. Duplicate this layer twice, for a total of three layers.
Still on the bottom mask layer,
Adjust > Add/Remove Noise > Add Noise and make the setting at 20. Monochrome, Uniform.
Hit okay.
Highlight the middle mask layer. Again, add noise, this time with the setting at 23.
Hit okay.
Highlight the top mask layer. Add noise again, this time with the setting at 25.
Hit okay.
Close out the top two mask layers, leaving the bottom mask layer open.
Edit > Copy merged
Open Animation Shop, right-click on the desktop area, and paste as a new animation.
Return to PSP. Close out the bottom mask layer, and open the middle mask layer.
Edit > Copy merged.
Return to Animation Shop and Edit > Paste > After Current Frame.
Back to PSP. Close out the middle mask layer and open the top mask layer.
Edit > Copy merged.
And, back to Animation Shop. Edit > Paste > After Current Frame.
View > Animation. And we're done! I hope you've enjoyed this tutorial! Thanks for stopping by!
.


No comments:
Post a Comment