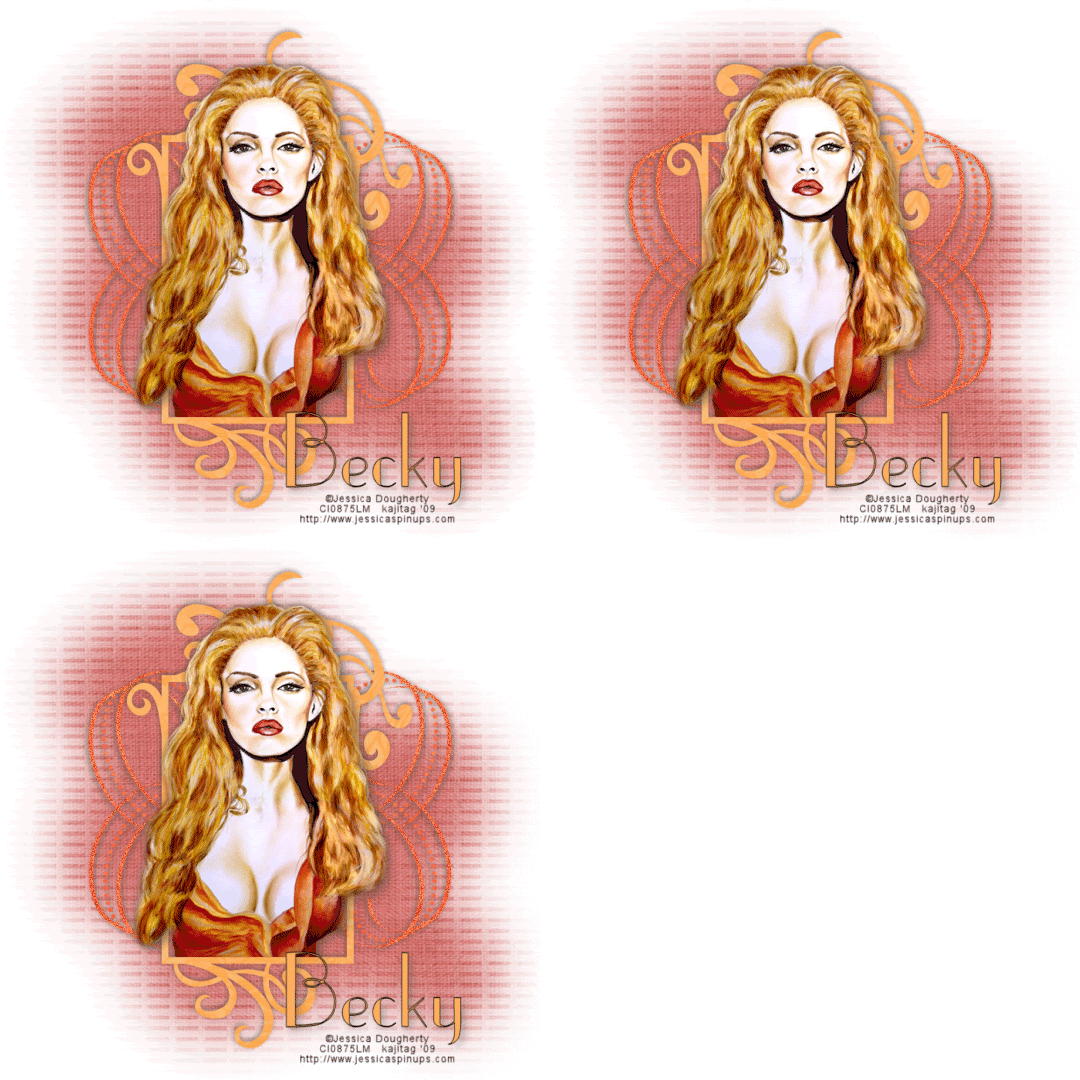
You will also need:
Animation Shop. This is from CNET, so it's a safe download.
A tube your choice. I'm using the great artwork of Jessica Dougherty. You must have a license to use her work. You may purchase that license at CILM.
Scrap kit is by Becky. It's a FTU kit, and is called Full of Energy. This is Becky's FIRST kit, and she did quite well!! Be sure to leave some love for offering this freebie! This kit is scrappers' sized. Just a heads up!
Filters: No outside filters used in this tut!
Font: I used UpperEastSide
Supplies: Just the mask, here. I don't know where I got this mask. If you recognize it as yours, please let me know and I'll give you proper credit!
Also, please, if you have problems with the download link for supplies, drop me a line via e-mail. Leaving a comment without a way for me to contact you back doesn't help. If you e-mail me, I'll send you the supplies.
Okay then!! Let's begin...
Open your mask and minimize in PSP. Alternatively, you can load it into your PSP masks folder for use at a later date.
Open a new image, 700 x 700, white.
Open Frame 2. Resize 19%. Copy and paste as a new layer. Rotate right 90°.
Add your tube. Resize, position and drop shadow to your taste.
Highlight your frame layer. Grab your magic wand and click inside the frame. Selections > Modify > Expand by 1. Selections > Invert.
Highlight your tube layer. Grab your eraser brush and erase any of your tube that you don't want overlapping the frame. In my case, I had the hair of the tube I wanted to still be outside the frame. It's up to you.
Selections > Select none.
Highlight your white background layer. Open Paper 7. Resize to 700 x 700. Copy and paste as a new layer.
Apply your mask. Delete your mask layer, answer "yes" to the pop-up question, and merge group.
Open Doodle 1. Resize 15%. Copy and paste as a new layer. Drag this layer above your mask layer. Drop shadow. Duplicate this layer and Image > Mirror. Merge these two layers down.
Add your name. I used color #fdaf5e as the fill, the stroke is black, stroke set at 1.5.
Drop shadow your name.
Add your copyright, license information if applicable, and taggers'/watermark.
Resize your tag to a size with which you're comfortable. At this point, you can just merge and save, if you choose not to animate!!
A N I M A T I O N
Highlight your Doodle 1 layer. Duplicate this layer twice, for a total of three layers.
Still on the bottom Doodle 1 layer, grab your magic wand and click inside the doodle.
Adjust > Add/Remove Noise > Add Noise and make the setting at 20. Monochrome, Uniform.
Hit okay.
Highlight the middle Doodle 1 layer. Again, add noise, this time with the setting at 25.
Hit okay.
Highlight the top Doodle 1 layer. Add noise again, this time with the setting at 30.
Hit okay.
Selections > Select None.
Close out the top two doodle layers, leaving the bottom doodle layer open.
Edit > Copy merged
Open Animation Shop, right-click on the desktop area, and paste as a new animation.
Return to PSP. Close out the bottom doodle layer, and open the middle doodle layer.
Edit > Copy merged.
Return to Animation Shop and Edit > Paste > After Current Frame.
Back to PSP. Close out the middle doodle layer and open the top doodle layer.
Edit > Copy merged.
And, back to Animation Shop. Edit > Paste > After Current Frame.
View > Animation. And we're done! I hope you've enjoyed this tutorial! Thanks for stopping by!
.


No comments:
Post a Comment