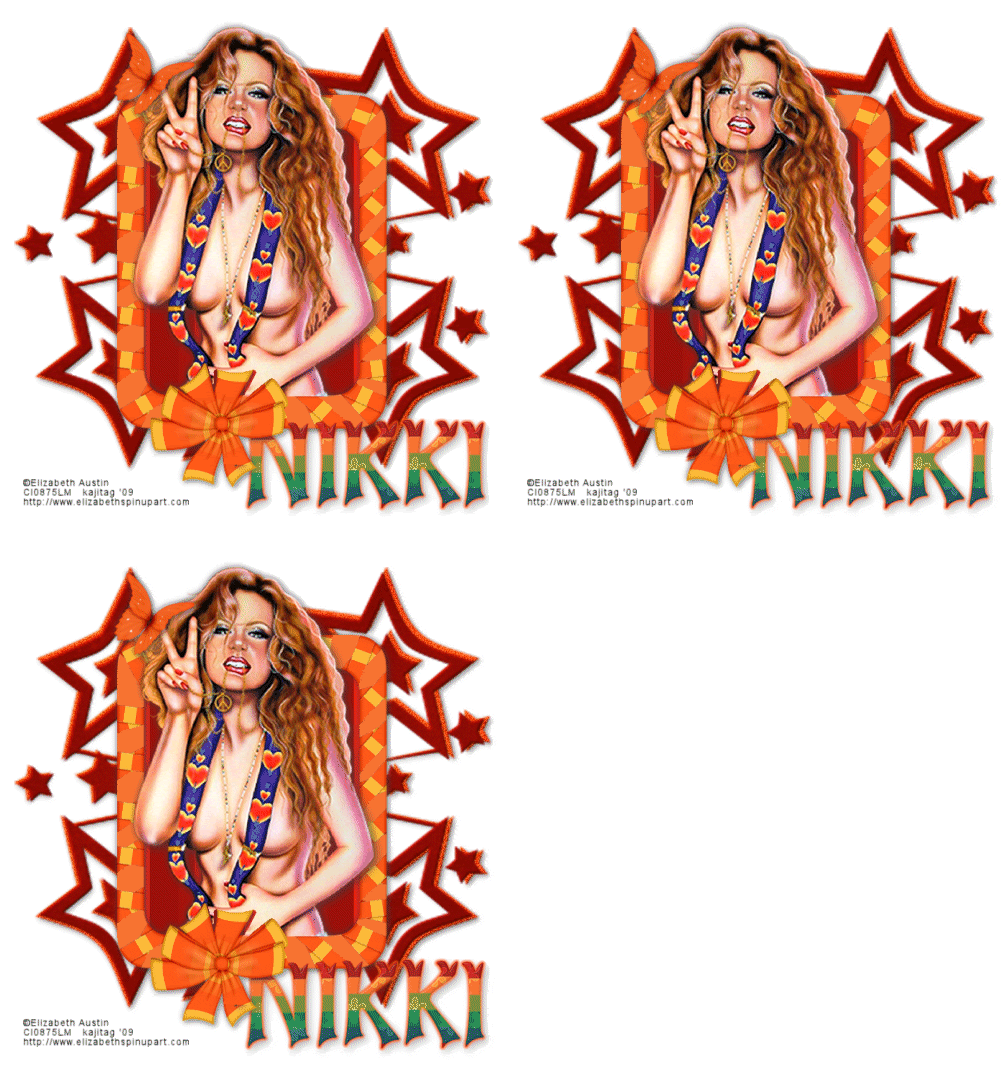
You will also need:
Animation Shop - I've found it here! This is from CNET, so it's a safe download, too!
A tube your choice. I'm using an early piece of artwork by Elizabeth Austin. You must have a license to use her work. You may purchase that license at CILM.
Scrap kit is by Nikki, of Paradise 4 Scrappers. It's a PTU kit, and is called Groovylicious. It's on sale now, for 30% off, so jump at the chance!!
Filters: Eye Candy 4000 > Gradient Glow, DSB Flux > Bright Noise
Font: I used the alpha supplied with the kit.
Supplies: No outside supplies used in this tut!!
Let's do it!!
Open a new image, 700 x 750, white.
Open Frame3. Resize 65%. Copy and paste as a new layer.
Add your tube. Resize, position, and drop shadow to your taste.
Highlight your frame layer. Click inside the frame with your magic wand. Selections > Modify > Contract by 3. Selections > Invert
Highlight your tube layer. Grab your eraser brush and erase any of your tube that overlaps the bottom of the frame, including the ribbon and bow.
Selections > Invert. Selections > Modify > Expand by 10. Selections > Invert
Highlight your white background layer. Open Paper6. Copy and paste as a new layer.
Hit delete. Selections > Select none.
Highlight your white background layer again.
Open Stars1. Resize 265%. Adjust > Sharpness > Sharpen. Copy and paste as a new layer.
Again, highlight your white background layer.
Open Stars 2. Resize 270%. Adjust > Sharpness > Sharpen. Copy and paste as a new layer.
See how the one layer just barely peeks out behind the other?
Open Butterfly7. Resize 45%. Copy and paste as a new layer. Position as you like. I have mine perched atop one of the tube's fingers. Drop shadow.
Drop shadow your frame.
Add your name. I used the alpha that came with the kit. For a smaller name, like Nikki, I'd say resize 85%. For a longer name, such as Kajira, I used 80%. I added a gradient glow of 3 - 0 - 100, color #f45016, preset "medium." Drop shadow your name.
Add your copyright, license information if applicable and taggers'/watermark.
Resize your tag to the size of your choice. At this point you could stop, if you choose not to animate. Just merge your layers, and save!
A N I M A T I O N
Go to your Stars2 layer. Duplicate this layer twice, for a total of three layers.
Highlight the bottom of these layers.
[NOTE: The animation on this is VERY subtle. To get a greater effect, raise the intensity level to your taste.]
Effects > Plugins > DSB Flux > Bright noise, intensity set at 25 (or setting of your choice), hit "mix" once.
Hit okay.
Highlight your middle Stars2 layer and apply Bright Noise again, but "mix" twice.
Hit okay.
Highlight your top Stars2 layer and again apply Bright Noise, hitting the "mix" button three times.
Hit okay.
Close out the top two Stars2 layers. Make sure the bottom Stars2 layer is open.
Edit > Copy merged
Open Animation Shop, right-click on the desktop area, and paste as a new animation.
Return to PSP. Close out the bottom Stars2 layer, and open the middle Stars2 layer.
Edit > Copy merged.
Return to Animation Shop and Edit > Paste > After Current Frame.
Once more back to PSP. Close out the middle Stars2 layer and open the top Stars2 layer.
Edit > Copy merged.
And again, back to Animation Shop. Edit > Paste > After Current Frame.
View > Animation. And we're done! I hope you've enjoyed this tutorial! Thanks for stopping by!
.


No comments:
Post a Comment