
You will also need:
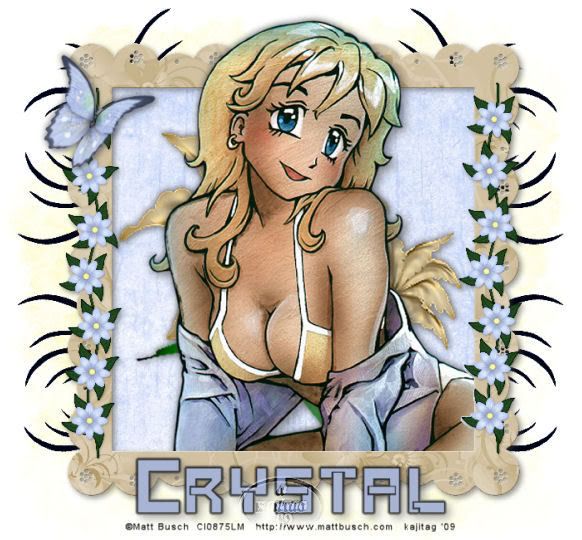
Tube of your choice. I've chosen to use the fun artwork of Matt Busch. You must have a license to use his art. You may purchase that license at CILM.
Scrap kit is by Crystal of Scrap It Sassy. The kit I'm using is PTU and called Isle of Desire. They're having a sale, so grab it while it's marked down!
Filters: Eye Candy 4000 Gradient Glow, just around the name.
Font: I used Baumark1
Mask: Becky_Mask022, which you can find here.
Okay, let's start!
Open your mask in PSP and minimize. Or, if you'd rather, load mask in your PSP masks file.
Open a new image, 700 x 650, white.
Open paper13. Copy and paste as new layer.
Apply your mask. Delete mask layer, answer "yes" to the pop-up question, and merge group. You might want to resize this mask layer up a bit after all is said and done. I resized by 107%.
Open frame5. Copy and paste as new layer.
Grab your magic wand. Click inside frame and Selections > Modify > Expand by 10.
Open paper7. Copy and paste as new layer, under your frame layer.
Selections > Invert. Hit delete. Selections > Select none.
Add your tube of choice. Drop shadow. If you want it to "emerge" from the frame, then highlight your frame layer. Click inside of frame again with your magic wand.
Selections > Invert
Highlight your tube layer. Grab your eraser brush, and erase all the excess tube that's hanging over the frame on the bottom and/or side.
Selections > Select none.
Open doodle2. Copy and paste as new layer. I do these steps on the top layer, so I can see what I'm working with. Position doodle to upper right side of your tag. Duplicate this layer and Image > Mirror. Merge down these two layers together, and duplicate. Image > Flip. Merge these all down together.
Use your selection tool to draw around the portions of the doodles that are sticking out the bottom of your frame. (Highlight doodle layer. Use your selection tool. Hit delete. Selections > Select none.)
Open eflower5. Resize by 125% twice. Adjust > Sharpness > Sharpen. Copy and paste as new layer, below your tube but above the paper7 layer. Drop shadow.
Open bfly2. Copy and paste as new layer. I placed mine on the top right-hand side of the frame. Drop shadow.
Drop shadow your frame.
Add your name. I used Eye Candy 4000, Gradient Glow with the settings 3 - 0 - 100, color black. Drop shadow.
Add your copyright, license information if applicable, and your tagger's/watermark.
Save and we're done! Thanks for trying my tut!! And have a great rest of your day!
.


No comments:
Post a Comment