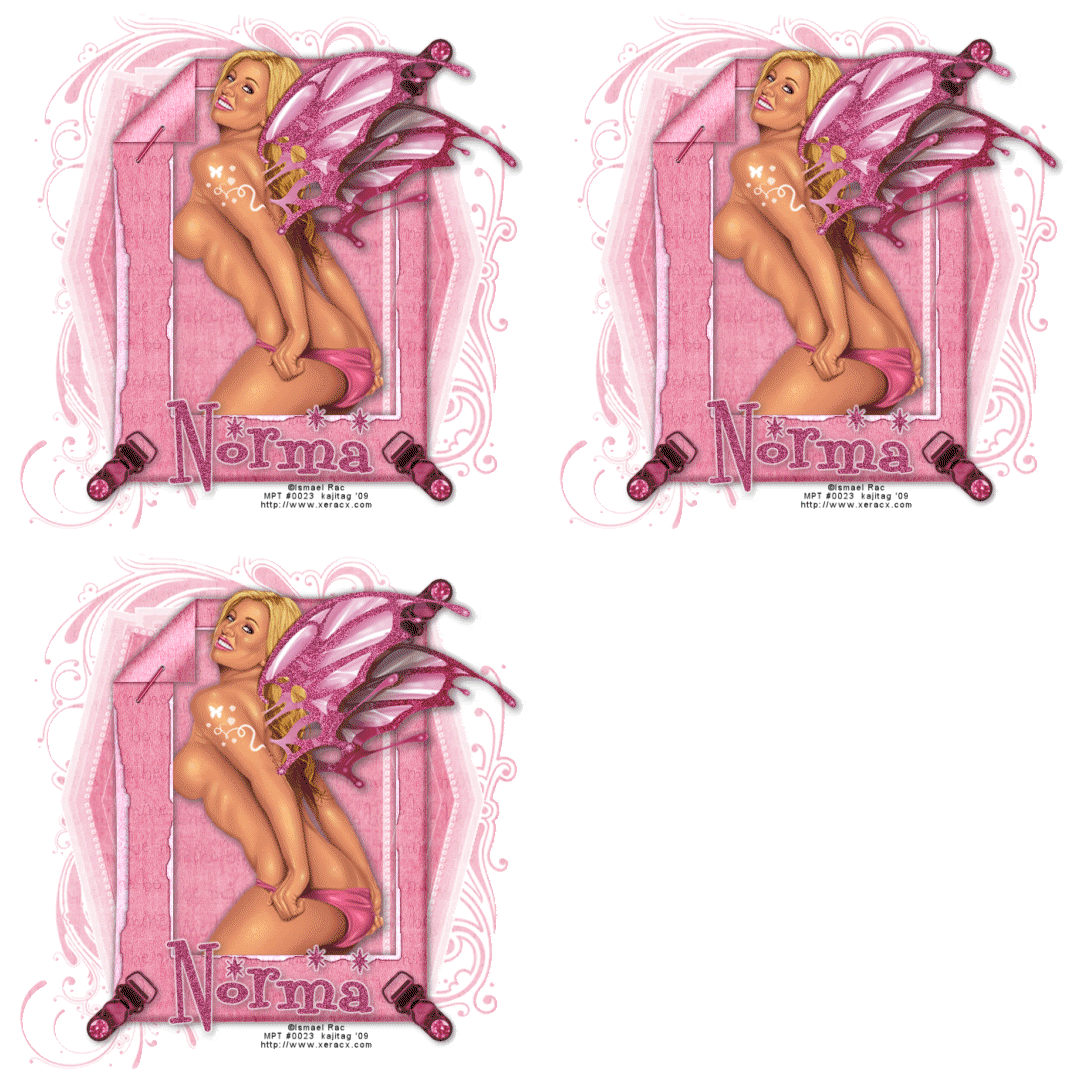
You will also need:
Tube of your choice. I've chosen to use the fantastic artwork of Ismael Rac. You must have a license to use his work. You may purchase that license at My PSP Tubes.
Animation Shop - at this time, I'm not sure where you can get this program, if you don't already have it. You may, however, save the tut as a static (non-animated) image if you like.
Scrap kit by Norma, of Swheat Creations. You can find this kit on her blog, here. It's a FTU kit called Ooey Gooey. Be sure to leave her some love for making us a FTU kit!
Filters: DSB Flux > Bright Noise, Eye Candy 4000 Gradient Glow
Font: I used Fontdinerdotcom Sparkly
Supplies: The mask, sg_chevron-sides. You can find this here. The mask was made by Essex Girl. She has a LOT of wonderful masks there to choose from, so take a look! Thank you, Essex Girl, for sharing your talent with the PSP community!
This is a quick-n-dirty tut, so let's go for it!! :)
Open your mask in PSP and minimize, or file it in with your PSP masks.
Open new image, 650 x 700, white.
The papers are named kinda funky here. So open the paper that eventually says "bemine_rose." Copy and paste as new layer.
Apply your mask. Delete mask layer, answer "yes" to the pop-up question and merge group.
Open Frame3. Copy and paste as new layer.
Add your tube. Position and drop shadow. This particular tube works well for what we're going to do for animation.
Highlight your frame layer. Grab your magic wand and click inside the frame. Selections > Invert.
Highlight your tube layer. Get your eraser brush and erase out the portion of your tube that overlaps the bottom of the frame. For this particular tube there is a nip showing, so I also erased that to make it appear as though it's behind the frame. Selections > Select none.
Open "Garder3." Resize 40%. Copy and paste as new layer. Rotate left 45°. Apply to one of your corners on your frame. See tag for reference. Duplicate this layer and Image > Mirror. Duplicate the original layer again and Image > Flip. Drop shadow all the "Garder3" layers.
Drop shadow your frame.
You will notice the mask is not completely filling the frame in the background. And if you stretch it, the outside doodles will run off your canvas. What to do?
Highlight your mask layer. Get your pick tool and stretch the mask on the sides so it's balanced well, and then pull down the bottom for some of the doodle looking stuff to peek out there. *DO* stretch the top so that the frame is filled. This requires pulling it past the boundaries of your canvas, but it can be done. Just fiddle with it until your frame is just barely full on the top.
Okay, choose your selection tool, set at rectangle, feather setting at 17.
Making sure your mask layer is still highlighted, draw your selection out around the very boundaries of your canvas, leaving maybe a ¼ inch between the edge and the selection. Don't worry when you let go and it bounces to bigger than that! Selections > Invert. Hit delete a couple times. This will allow the doodles that run off your canvas to softly just disappear before the edges.
Selections > Select none.
Back up to the top layer. Add your name. I used color #af4d75. Duplicate this layer twice, for a total of three layers.
Duplicate the tube layer twice, for a total of three layers. We will be adding noise to both your name and the fairy's wings (if you're using a tube that allows for that. Otherwise, just duplicate your name.)
Highlight the bottom name layer. Take your magic wand, MAKE SURE FEATHER IS NOW SET AT 0!! Mode is Add (shift), and click inside each letter.
Highlight your bottom tube layer, if using a tube that will be good for this effect. Take your magic wand again, and click along the outside of the wings.
Effects > Plugins > DSB Flux > Bright noise set on 45, "Mix" checked. Do the same for your bottom name layer.
Highlight the middle name layer. DSB Flux > Bright noise again, noise still set on 45, hit "Mix" twice. Again, if you have a tube that calls for it, do the same for your middle tube layer.
Now, highlight the top tube layer and apply DSB Flux > Bright noise once more, noise still set on 45, hit "Mix" three times. Do the same to the top name layer.
Selections > Select none.
Now, for the tricky part! Go to each of your name layers and add Eye Candy 4000 Gradient Glow set at 3 - 0 - 100, preset of "Medium" color white. Do this on each name layer.
Now, drop shadow each name layer.
Close out the top two name layers and the top two tube layers. Leave the bottom tube and name layers open.
Add your copyright, license information if applicable and taggers'/watermark.
Resize your tag to your taste.
Edit > Copy merged
Open Animation Shop. Right-click on the desktop area and paste as new animation.
Return to PSP. Close out the bottom layers for both your name and tube. Open the middle layers.
Edit > Copy merged
Back to Animation Shop and Edit > Paste > After current frame.
Return again to PSP. Close out the middle layers for both your name and tube, and open the top layers.
Edit > Copy merged
Finally, return to Animation Shop and Edit > Paste > After current frame.
View > Animation. Save as .gif and you're done! Thanks for stopping by. This was an easier tut. I hope you enjoyed it, and your results!
.


No comments:
Post a Comment