
You will also need:
Tube of your choice. I'm using the great artwork of Ismael Rac. You must have a license to use his work. You may purchase that license at My PSP Tubes.
Scrap kit by Pimptress of Paradise 4 Scrappers. It is a PTU kit, called Springtime In Paris.
Filters: Eye Candy 4000 > Gradient Glow *and* Glass
Font: I used Good Vibrations
Supplies: The mask, sg_stenciled-circle1. You can find this here. The mask was made by Essex Girl. She has a LOT of wonderful masks there to choose from, so take a look! Thank you, Essex Girl, for sharing your talent with the PSP community!
Let's begin, shall we?
Open a new image, 700 x 700, white.
Add a new raster layer. Selections > Select all.
Open pp01. Copy and paste INTO SELECTION. Selections > Select none.
Apply your mask, INVERT TRANSPARENCY CHECKED! Delete mask layer. Answer "yes" to pop-up question and merge group.
Open pp07. Copy and paste as new layer.
Open circle-wooden-frame. Copy and paste as new layer.
Grab your magic wand. Click inside the frame. Selections > Modify > Expand by 7. Selections > Invert.
Highlight your pp07 layer. Hit delete. Selections > Select none.
Add your tube. Positon and drop shadow.
Highlight your frame layer again. And, again grab your magic wand and click inside the frame. Selections > Invert
Get your eraser brush and erase any of your tube that is overlapping the bottom of the frame. Selections > Select none.
Open the Eiffel Tower in the scrap kit. Resize 45%. Copy and paste as a new layer, above your pp07 layer and below your tube layer. Position the Eiffel Tower so it shows as kind-of a background object in the frame. Drop shadow your Eiffel Tower. Change the blend mode to Overlay.
Open spring-blossom-01. Resize 50%. Highlight your top layer. Copy and paste your spring blossom as new layer. Arrange as desired. Drop shadow. Duplicate this layer and rotate right 30°. Arrange again, to your liking. Use your lasso tool, point-to-point, to crop out any stem that may be sticking out or things like that.
Open wisteria. Image > Mirror. Copy and paste as new layer on the right hand side of the frame, so that it's hanging down the side of your tube. See my tag as a reference. Drop shadow the wisteria.
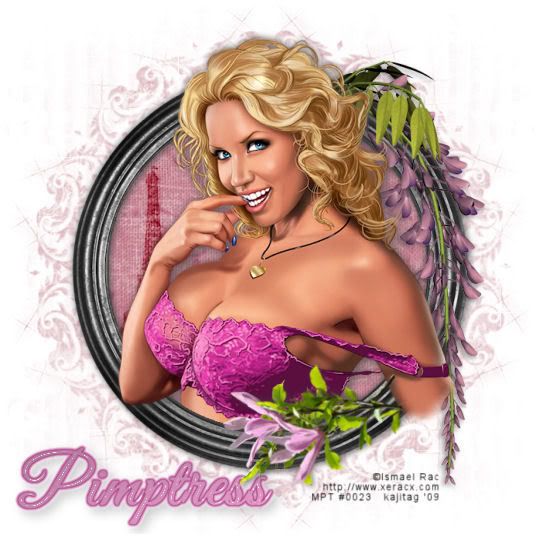
Add your name. I used color #e8a9cf. Effects > Plugins > Eye Candy 4000 > Glass with the following settings:
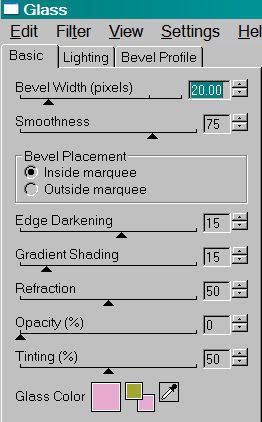
Hit okay.
I added Eye Candy 4000 > Gradient Glow with settings at 3 - 25 - 100, color #as237d. I then added the same gradient glow, but using the color white. Drop shadow your name.
Add your copyright, license information if applicable, and taggers'/watermark.
Save and we're done! Easy-peasy! :) I hope you enjoyed this tut!
.


No comments:
Post a Comment