
You will also need:
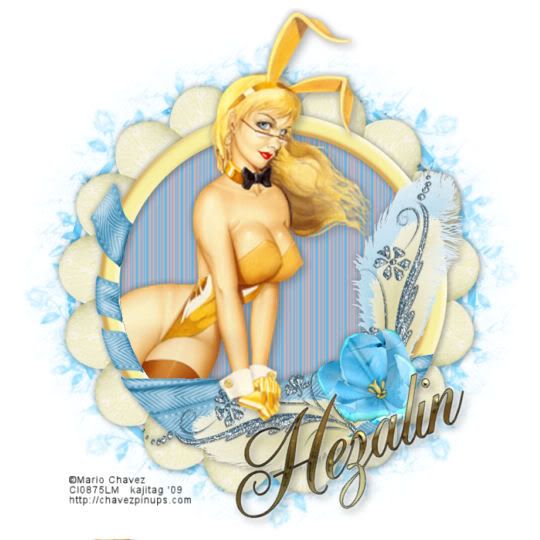
A tube of your choice. I'm using the great artwork of Mario Chavez. You at least USED to have a license to use his work. I got my license at CILM. I notice now, though, after trying links to his art and even on CILM, he's not there. There's nothing about tubes on the link I've given you. He apparently still has a My Space page but says he only checks in every few weeks, and I deleted my My Space page so can't leave him a note. I'm terribly sorry if I've again used a tube that is unavailable!
Scrap kit is by Heza of Heza Scraps. It's a PTU kit, available at Terminally Unique Designs, and is called Bunny Poop!!
Filters: Mura's Meister > Copies
Font: I used OPTIYork Script
Supplies: The mask, which is the art of the always wonderful Kirsty! You can find the mask here.
Let's do it!! This is a quick-n-easy tut!!!
Open your mask and minimize in PSP. Alternatively, you could add your mask to your PSP masks folder, so you'd have it for use later. Always give proper credit where you can, though, as you collect your PSP booty!
Create a new file, 700 x 700, white.
Open Frame4. Copy and paste as a new layer.
Open Paper 12. Copy and paste as a new layer. Drag this layer beneath the frame.
Highlight the frame layer. Take your magic wand and click inside the frame. Selections > Modify > Expand by 10. Selections > Invert.
Highlight your paper layer. Hit delete. Selections > Select none.
Add your tube. Resize, position and drop shadow to your taste. I placed mine to the left of center, to balance out the embellished frame.
Highlight your frame layer again. Click inside the frame with your magic wand. Selections > Modify > Expand by 1. Selections > Invert.
Highlight your tube layer. Grab your eraser brush and erase the parts of your tube that overlap the frame on the bottom. Selections > Select none.
Open Egg. Resize 25%. Copy and paste as a new layer.
Effects > Plugins > Mura's Meister > Copies with the following settings:

Hit okay.
Drag this layer below your frame and paper layers.
Drop shadow your frame.
Drop shadow your eggs layer.
Highlight your white background layer.
Open paper 1. Copy and paste as a new layer.
Apply your mask. Delete the mask layer, answer 'yes' to the pop-up question, and merge group.
Add your name. I used the Metal Brass Gradient for the fill, settings below:
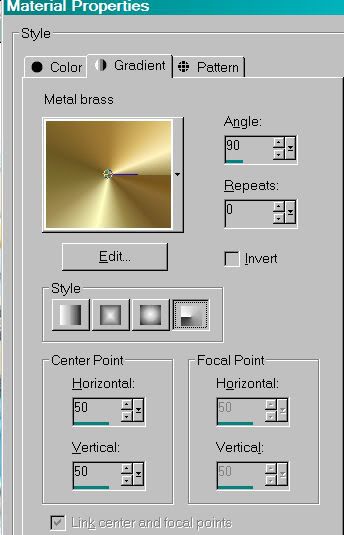
...and black for the stroke. Stroke width is .8.
Rotate your name to the left 25% and move into the bottom right corner (if you wish... that's just what I did).
Drop shadow your name.
Add your copyright, license information if applicable and taggers'/watermark.
Resize your tag to the size of your choice. Merge your layers, and save! We're done! I told you it was quick-n-easy!! I hope you enjoyed!
.


No comments:
Post a Comment