
You will also need:
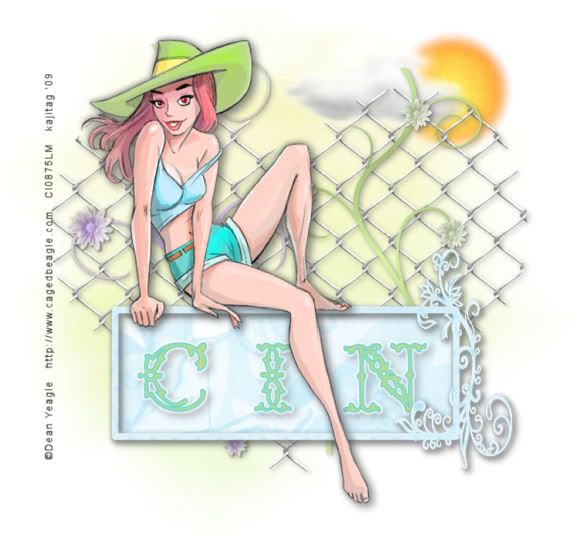
A tube of your choice. A sitting position would work the best for this tutorial. I'm using the fabulous artwork of Dean Yeagle. You must have a license to use his work. You may purchase that license at CILM.
Scrap kit is by [ C I N ] of Juicy Bits. It's a FTU kit and part of the Spring Blog Train I stumbled upon. It's called simply Spring Blog Train Kit! You may be seeing more tuts from me with portions of this blog train. At the moment, my browser is giving me a hard time, so I'll have to devote some attention to my puter. :(
Filters: Eye Candy 4000 > Gradient Glow
Font: I used Antique
Supplies: The mask, by Becky, and both the sunshine and the file called sun_clouds. I used a bit from both of those files. You can find them here!
Let's go, then!!
Open your supplies and minimize in PSP. Alternatively, you could add your mask to your PSP masks folder, so you'd have it for use later. Always give proper credit where you can, though, as you collect your PSP booty!
Create a new file, 750 x 700, white.
Add a new raster layer. Selections > Select all.
Open paper 12. Copy and paste INTO SELECTION.
Apply your mask. Delete the mask layer, answer "yes" to the pop-up question, and merge group.
Open 008. Resize 125%. Copy and paste as a new layer. Add a soft drop shadow.
Open 006. Copy and paste as a new layer. Move it to the right of the mesh heart. Drop shadow.
Open 0031. Copy and paste as a new layer. Mirror, if you like. I did. Move it a bit down on your canvas.
Open Paper 10. Copy and paste as a new layer. Move it around until the area you'd like to show through, well... shows through.
Highlight the 0031 layer. Grab your magic wand and click inside it. Selections > Modify > Expand by 7. Selections > Invert.
Highlight the Paper 10 layer. Hit delete. Selections > Select none.
Add a drop shadow to your frame layer (0031).
Add your tube. Resize, position and drop shadow as you like.
Open the sunshine from your supplies. (The one that's alone in the frame.) Copy and paste as a new layer, above the mask layer but below the mesh heart layer. I wanted to use this particular sun, as it appears to be glowing. (IMO)
Open the sun_clouds from your supplies. Notice each individual cloud and the sun are on different layers. Choose one or more of the clouds and place them where you'd like.
Add your name. I used color #bddb90 for the fill, and #6fd8d4 for the stroke. Stroke size is 1. I added Effects > Plugins > Eye Candy 4000 > Gradient Glow set at 4 - 0 - 100, color white.
Drop shadow your name.
Add your copyright, license information if applicable and taggers'/watermark.
Resize your tag to the size of your choice. Merge your layers, and save! We're done! I hope you enjoyed this tut!
.


Its so pretty, Kajira. so soft and simple. TY for using pieces of the spring train kit. I am honoured.
ReplyDelete