

You will also need:
A tube of your choice. A "resting" posture would work best on this one. I'm using the great artwork of Al Rio. You must have a license to use his work. You may purchase that license at CILM.
Animation Shop - I found it! Here is a link to a trial version of Animation Shop. They offer the full version for $40 USD.
Scrap kit by Denise, who sells at Scrap It Sassy. It is a PTU kit, and it's called Solitaire. It's a BEAUTIFUL kit, and it's on sale!! Get it while it's hot!
Filters: Greg's Factory Output Volume II > Radial Hilite
You can get this filter here. I got surprised by an obnoxious ad, but there is a link that takes you away from that real quick! Then scroll around ¾ of the page down and you'll see links to "Greg's Filters." There you go!
Font: I used Vivian
Supplies: The mask, once again by Essex Girl. I just love her masks! You can get this one here.
Let's get started!
Open a new image, 700 x 700, white.
Open Frame3. Copy and paste as new layer. Resize 75%.
Add your tube. Resize, position and drop shadow as you like.
Open hearts_chain. Resize 75%. Place below your tube and frame in your layer palette. Put this up to the top of the frame. Use your pick tool to squish them together if you like, it's not necessary.
Highlight your frame layer. Grab your magic wand, click inside the frame, and go Selections > Modify > Expand by 10. Selection > Invert.
Highlight your hearts_chain layer. Hit delete. Selections > Select none. Drop shadow your hearts_chain.
For this next part, it was necessary (for me) to close out the tube layer. That may help you, may not. ... just sayin'..... :)
Open ribbon_eyelets_3. Resize 50%. Copy and paste as a new layer. Position under the frame layer in the layer palette. Duplicate this layer twice, and position them as you like them in the bottom part of the frame. See my tag for reference purposes. Merge these three layers down. Drop shadow these ribbon eyelets.
Again, highlight the frame layer and click inside it with your magic wand. Selections > Modify > Expand by 10. Selections > Invert.
Highlight the ribbon_eyelets layer and hit delete. Selections > Select none.
Open Phisalys_1 and Phisalys_2. Resize each 35%. Copy and paste these as new layers. Arrange them to your liking to the left of your frame. See my tag for reference purposes. Drop shadow these flowers.
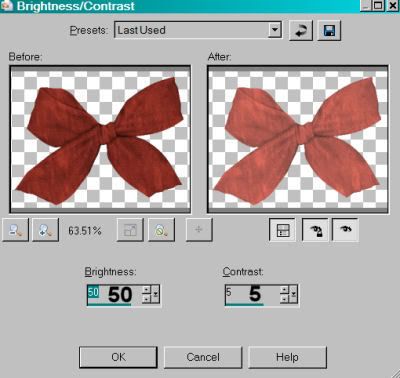
Open bow_1. Resize 38%. Copy and paste as a new layer. Adjust > Brightness and Contrast > Brightness/Contrast with the following settings:
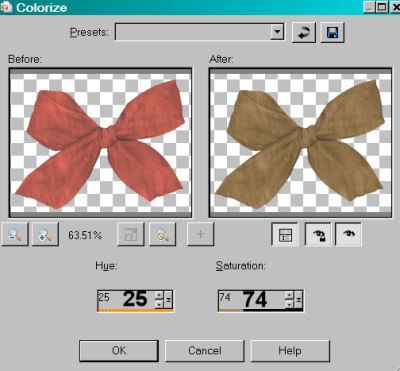
Hit okay. Adjust > Hue and Saturation > Colorize with the following settings:
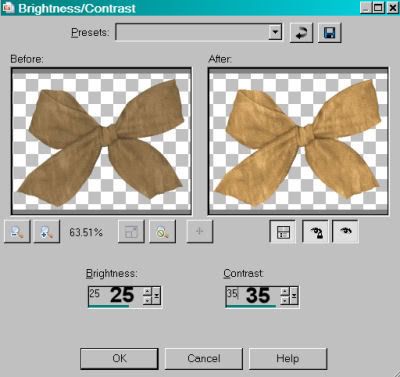
Hit okay. Adjust > Brightness and Contrast > Brightness/Contrast again, with these settings:
Hit okay.
Move your bow over your Phisalys flowers to make them appear to be in a bunch. Drop shadow your bow.
Drop shadow your frame.
Highlight the white background layer. Open paper4. Copy and paste as a new layer.
Apply your mask. Delete mask layer, answer "yes" to the pop-up question and merge group.
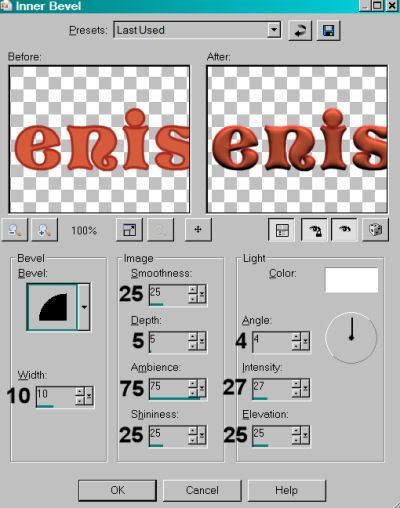
Add your name. I used color #d55b3a. Stroke color is #a92d20, stroke of 2. If you like, you can give it an inner bevel. Here are the settings I used:
Drop shadow your name.
Add your copyright, license information if applicable, and taggers'/watermark.
Resize your tag to your liking.
You can quit now and save if you choose not to animate.
A N I M A T I O N
Duplicate your mask layer twice, for a total of three layers. Highlight the bottom mask layer.
Effects > Plugins > Greg's Factory Output Volume II > Radial Hilite with the following settings:
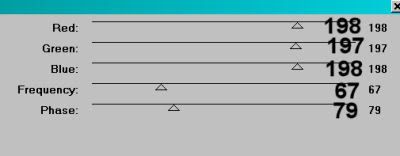
Hit okay.
Highlight the middle mask layer. Apply Radial Hilite again, but change the Frequence and Phase settings any way you'd like.
Highlight the top mask layer. Again with the Radial Hilite, moving the Frequency and Phase sliders.
Close out the top two mask layers.
Edit > Copy merged
Open Animation Shop, right-click on the desktop area and paste as a new animation.
Return to PSP. Close out the bottom mask layer and open the middle one.
Edit > Copy merged
Return to Animation Shop. Edit > Paste > After Current Selection
Go back one more time to PSP. Close out the middle mask layer and open the top..
Edit > Copy merged
Back to Animation Shop. Edit > Paste > After Current Selection.
Edit > Select All.
Right-click on the top bar to the animation and choose "Frame Properties." Change this number to 35.
View > Animation. Save as a .gif and we're done! I hope you liked this tutorial!
.


No comments:
Post a Comment