
You will also need:
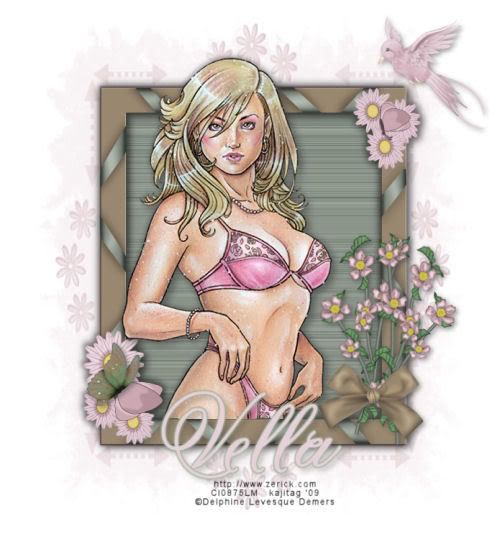
A tube of your choice. I'm using the artwork of Delphine Demers. You must have a license to use her work. You may purchase that license at CILM.
Scrap kit is a mini freebie by Vella of Wench Designs. It is a great FTU kit, simply called A Surprise Freebie. This is a scrappers' sized kit.
Filters: Eye Candy 4000 > Gradient Glow
Font: I used Anglia Script Ehancements
Supplies: Just this mask!
Let's begin!!
Open your mask in PSP and minimize. Alternatively, you can load it into your PSP masks file, for use again later.
Create a new file, 700 x 700, white.
Open Frame1. Resize 25%. Copy and paste as a new layer. Rotate right 90°.
Open paper4. Resize to 700 x 700 pixels. Copy and paste as a new layer. Drag this below your frame layer in your layer palette.
Highlight your frame layer. Grab your magic wand and click inside the frame. Selections > Modify > Expand by 10.
Highlight your paper layer. Selections > Invert. Hit delete. Selections > Select none.
Add your tube. Position and drop shadow as you like.
Highlight your frame layer again. And again, click inside the frame with your magic wand. Selections > Invert.
Highlight your tube layer. With your eraser brush, erase any part of your tube that overlaps the bottom of the frame. Selections > Select none.
Open AppleBlossomBranch. Resize 15%. Copy and paste as a new layer. Move to the bottom left corner of the frame. Duplicate this layer. Rotate 10° left. Image > Mirror. Now move it back to the bottom left corner of the frame. Arrange so that the two branches cross toward the bottom of each. See my tag for reference. Drop shadow each branch layer. Merge these two layers down.
Open Bow2. Resize 20%. Copy and paste as a new layer, over the cross-point of the two branches. Drop shadow your bow.
Open Bird1. Resize 10%. Copy and paste as a new layer. I positioned mine above the frame, in the right corner. Drop shadow your bird.
Open Butterfly1. Resize 7%. Image > Mirror. Position as you like. I put mine on the flowers at the bottom left corner of the frame. Drop shadow your butterfly.
Highlight your white background layer. Open paper2. Resize to 700 x 700 pixels. Copy and paste as a new layer.
Apply your mask. Delete mask layer, answer "yes" to the pop-up question, and merge group.
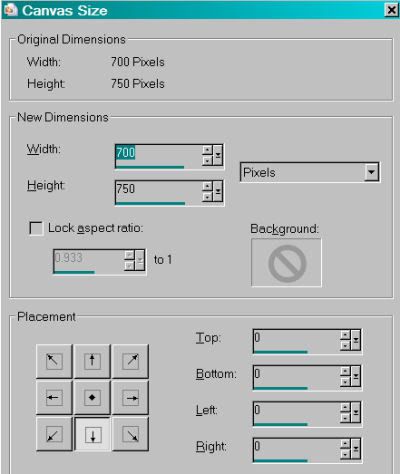
This is where it gets a bit fiddly. Using your pick tool, squeeze the mask horizontally, so the pink square in the middle can't be seen. Also, move the mask up a bit, so you can't see the pink square on the top or bottom, either. You may need to resize the canvas to get the room at the top.
When you've got it all the way it looks best to you, then.....
Add your name. I used color #e6d0d9. Stroke of two, same color.
Effects > Plugins > Eye Candy 4000 > Gradient Glow with settings of 3 - 0 - 100, color #97a196. Drop shadow your name.
Add your copyright, license information if applicable, and taggers'/watermark.
Resize your canvas to suit your taste. Et, voila! We are done! Thanks for trying this tut!
.


No comments:
Post a Comment